Understanding Sizing in Hand Knitting Patterns: From Pattern Grading to Better Fit Decisions

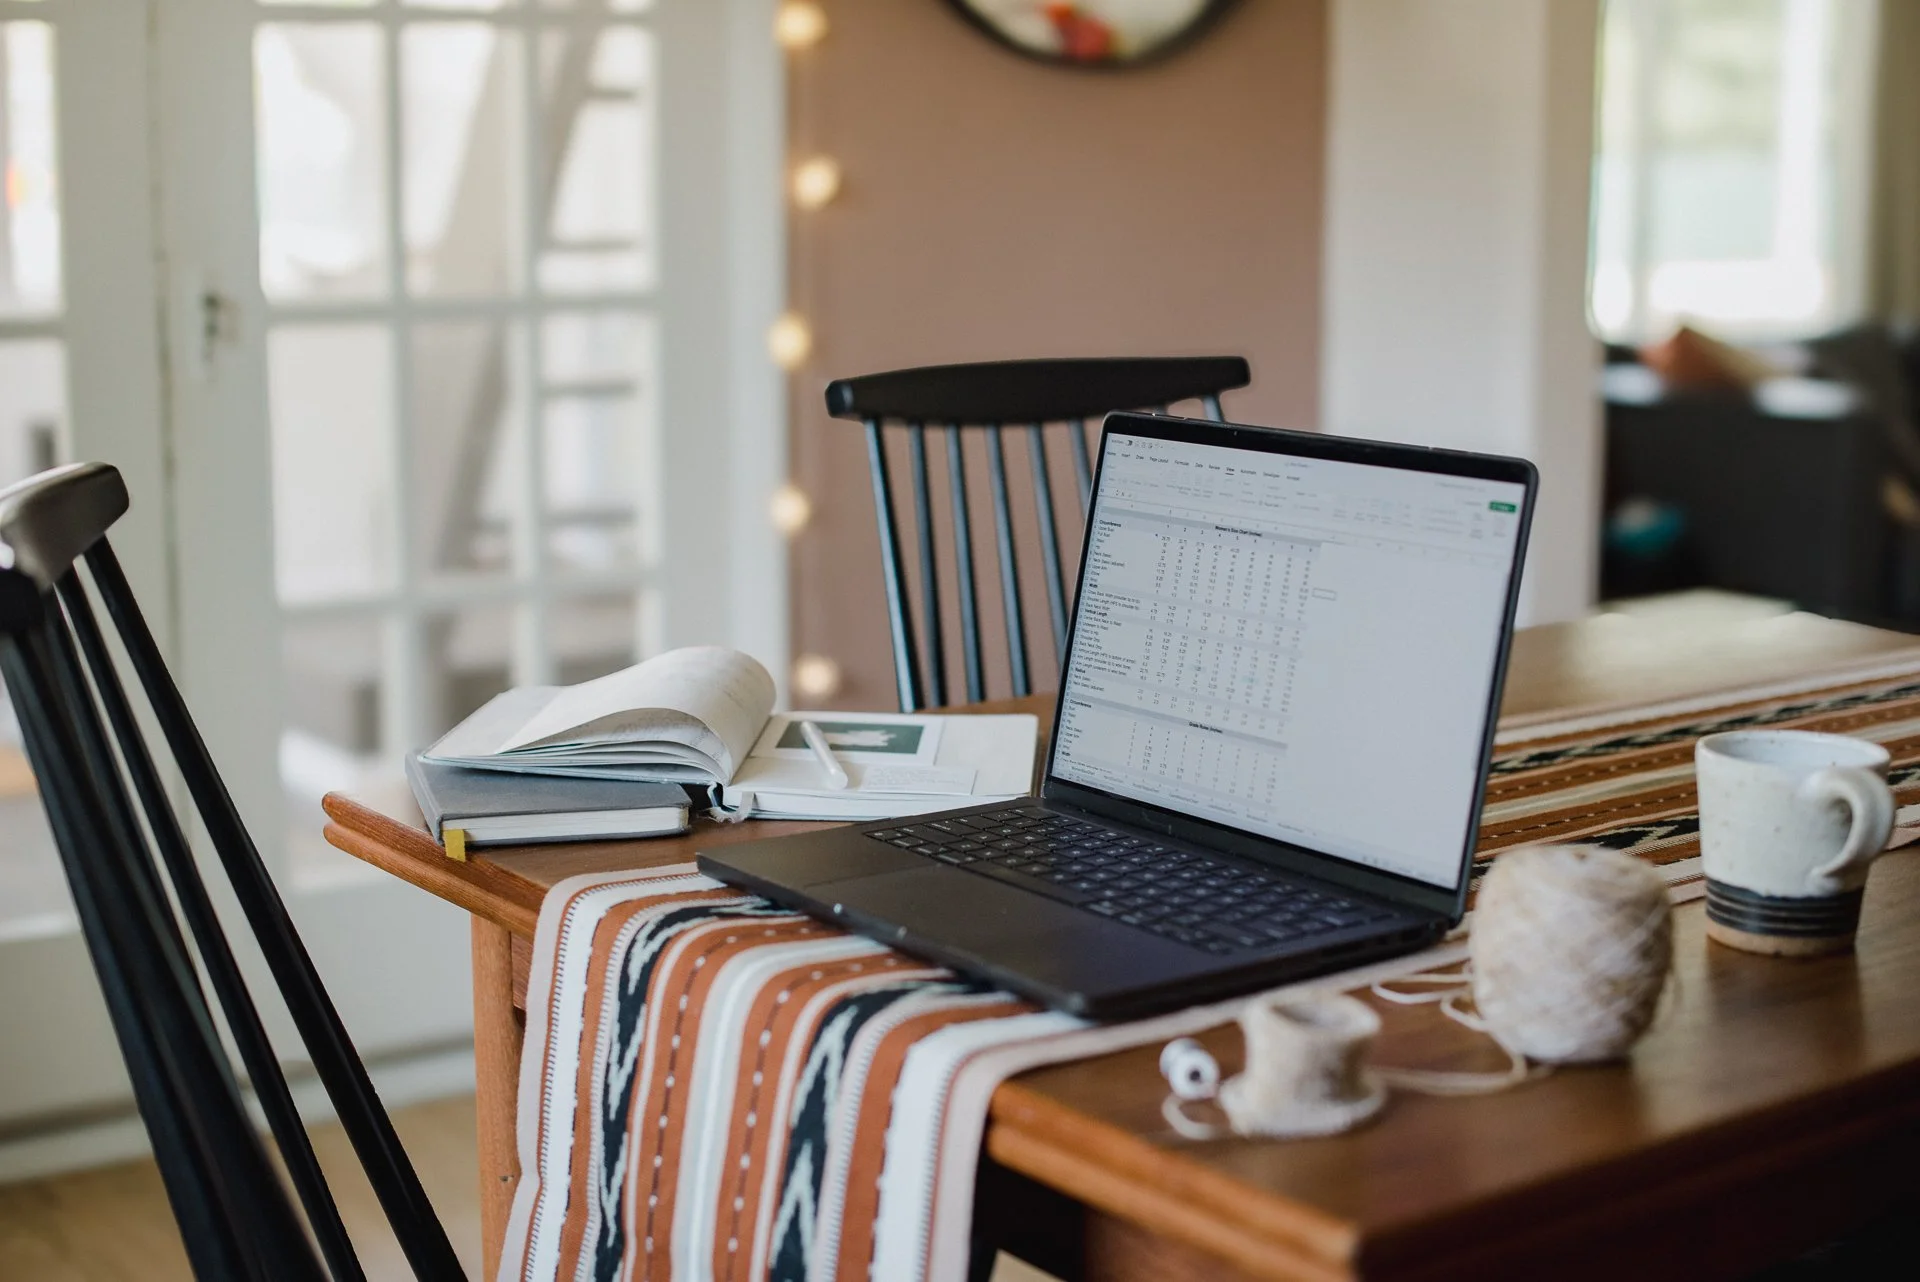
Photo: Briana Arlene Knits
HAVE YOU EVER knit a sweater, woven in all the ends, blocked it (eek, it looks so good!!), and then tried it on—only to realize it doesn’t fit? Maybe it pulls at the underarms, the neckline sits strangely, or the whole garment feels too tight…or too loose.
Or maybe you’re about to cast on your first garment and feel stuck before you even begin: Which size should I choose?
Fit in knitwear can feel unpredictable, but it’s not random. Behind every pattern is a system that determines how sizes are created and how they relate to real bodies.
In this article, I’ll break down the foundations of knitwear sizing—starting with pattern grading—so you can make more informed decisions about size, understand why patterns fit the way they do, and confidently adjust when needed.
But first: how do designers come up with those sizes in the first place?
PATTERN GRADING
A WELL-WRITTEN KNITTING PATTERN begins with a size standard. A size standard is a set of body measurements taken at multiple points across the body, drawn from real people and compiled into a consistent framework. Designers may source this data from organizations like the American Society for Testing and Materials (ASTM) or the Craft Yarn Council (CYC), as well as from industry resources such as The Knitting Pattern Writing Handbook by Kristina McGrath and Sarah Walworth. Some designers, including Ysolda Teague, also publish their own sizing charts, and many knitwear design educators develop and share charts with their students based on years of design experience.
The challenge with any size standard is that it doesn’t perfectly represent real bodies—and it isn’t meant to. These charts are built from large datasets that have been aggregated, standardized, and averaged across a range of measurements. This statistical approach provides a reliable foundation for grading patterns across multiple sizes, but it also means that no individual will match a standard chart exactly.
If you’ve been knitting for a while, you’ve likely noticed this in practice. Maybe you consistently add length to sleeves or shorten the body, or perhaps sweater yoke depths never feel quite right. These adjustments aren’t random—they reflect the gap between standardized measurements and the unique proportions of your own body.
Intuitively, we already see this when we try on ready-made clothing in stores. Fashion brands also work from size standards, and you’ve probably noticed that your “usual size” can shift from one brand to another—or that some brands simply never seem to fit quite right.
Maybe you’re one size in one store, a different size somewhere else, or you’ve even learned to avoid a certain brand entirely because the proportions just don’t work for your body. Why are the sleeves on that one brand you love but never quite fits you always too short?
Good patterns are graded from reliable size standards based on a robust dataset—not guesswork. If you're wondering about a designer's size standards or grading approach, ask! Knowing where their measurements come from helps you helps you choose your size with confidence.
Photo: Briana Arlene Knits
CHOOSING A PATTERN
NOW THAT YOU UNDERSTAND where sizes come from, how do you choose a well-written, professionally graded pattern?
Here are a few things to look for:
Choose a pattern that provides finished garment measurements—not just body measurements.
You’ve probably seen patterns that list sizes like this:
Sizes 1 (2) 3 (4) 5 (6) 7 (8) to fit bust measurements of
31.5–33.5 (33.5–35.5) 35.5–37.5 (37.5–39.25) 39.25–43.25 (43.25–47.25) 47.25–51.25 (51.25–55) in
80–85 (85–90) 90–95 (95–100) 100–110 (110–120) 120–130 (130–140) cm
This tells you which size standard the designer used—but it doesn’t tell you how the finished garment will fit.
For example, if your bust is 43.5 in (110 cm), should you make size 5 or 6? Without finished garment measurements, you simply don’t have enough information to decide.
What you actually need are the garment’s finished dimensions—especially the chest circumference and upper arm circumference—so you can compare them to your own measurements and choose your size intentionally.
Choose a pattern that includes ease recommendations.
Designers grade patterns with a specific fit in mind, and that fit is defined by ease. This information should always be stated clearly.
Ease isn’t just a technical detail—it determines whether a garment feels fitted, relaxed, or oversized, and whether the proportions of the design work as intended.
For example, drop-shoulder sweaters can be worn with 4 to 14 in. (10 to 35 cm) of positive ease. But individual designs often work best within a narrower range depending on their proportions.
If a pattern doesn’t tell you the intended ease, you’re left guessing—and that’s where fit issues often begin.
Bonus points if the designer explains why a certain ease range is recommended or shares insights from test knitters. Real-world feedback can reveal how a design behaves across different sizes and body shapes.
Choose a pattern that bases sizing and ease on upper chest measurements.
Many sweater patterns recommend choosing a size based on full chest (bust) circumference. While this is often the measurement knitters are most familiar with, it’s not always the most reliable indicator of overall body size—especially for women.
Two people with the same torso frame can have very different full bust measurements due to differences in breast tissue. And even for one person, full bust circumference can fluctuate over time due to factors like hormonal changes, menstrual cycles, or breastfeeding.
More importantly, sweaters don’t hang from the fullest part of your bust—they hang from your shoulders. That makes upper chest circumference a more stable and consistent reference point for sizing.
Patterns that use upper chest as the primary measurement tend to produce a more balanced fit through the shoulders and upper body.
Choose a pattern that includes a schematic.
A schematic is a visual map of the garment, showing how each element is shaped and measured. It helps you quickly understand proportions—something that’s difficult to grasp from numbers alone.
Ideally, the schematic is paired with a full table of finished measurements so you can see both the big picture and the exact details.
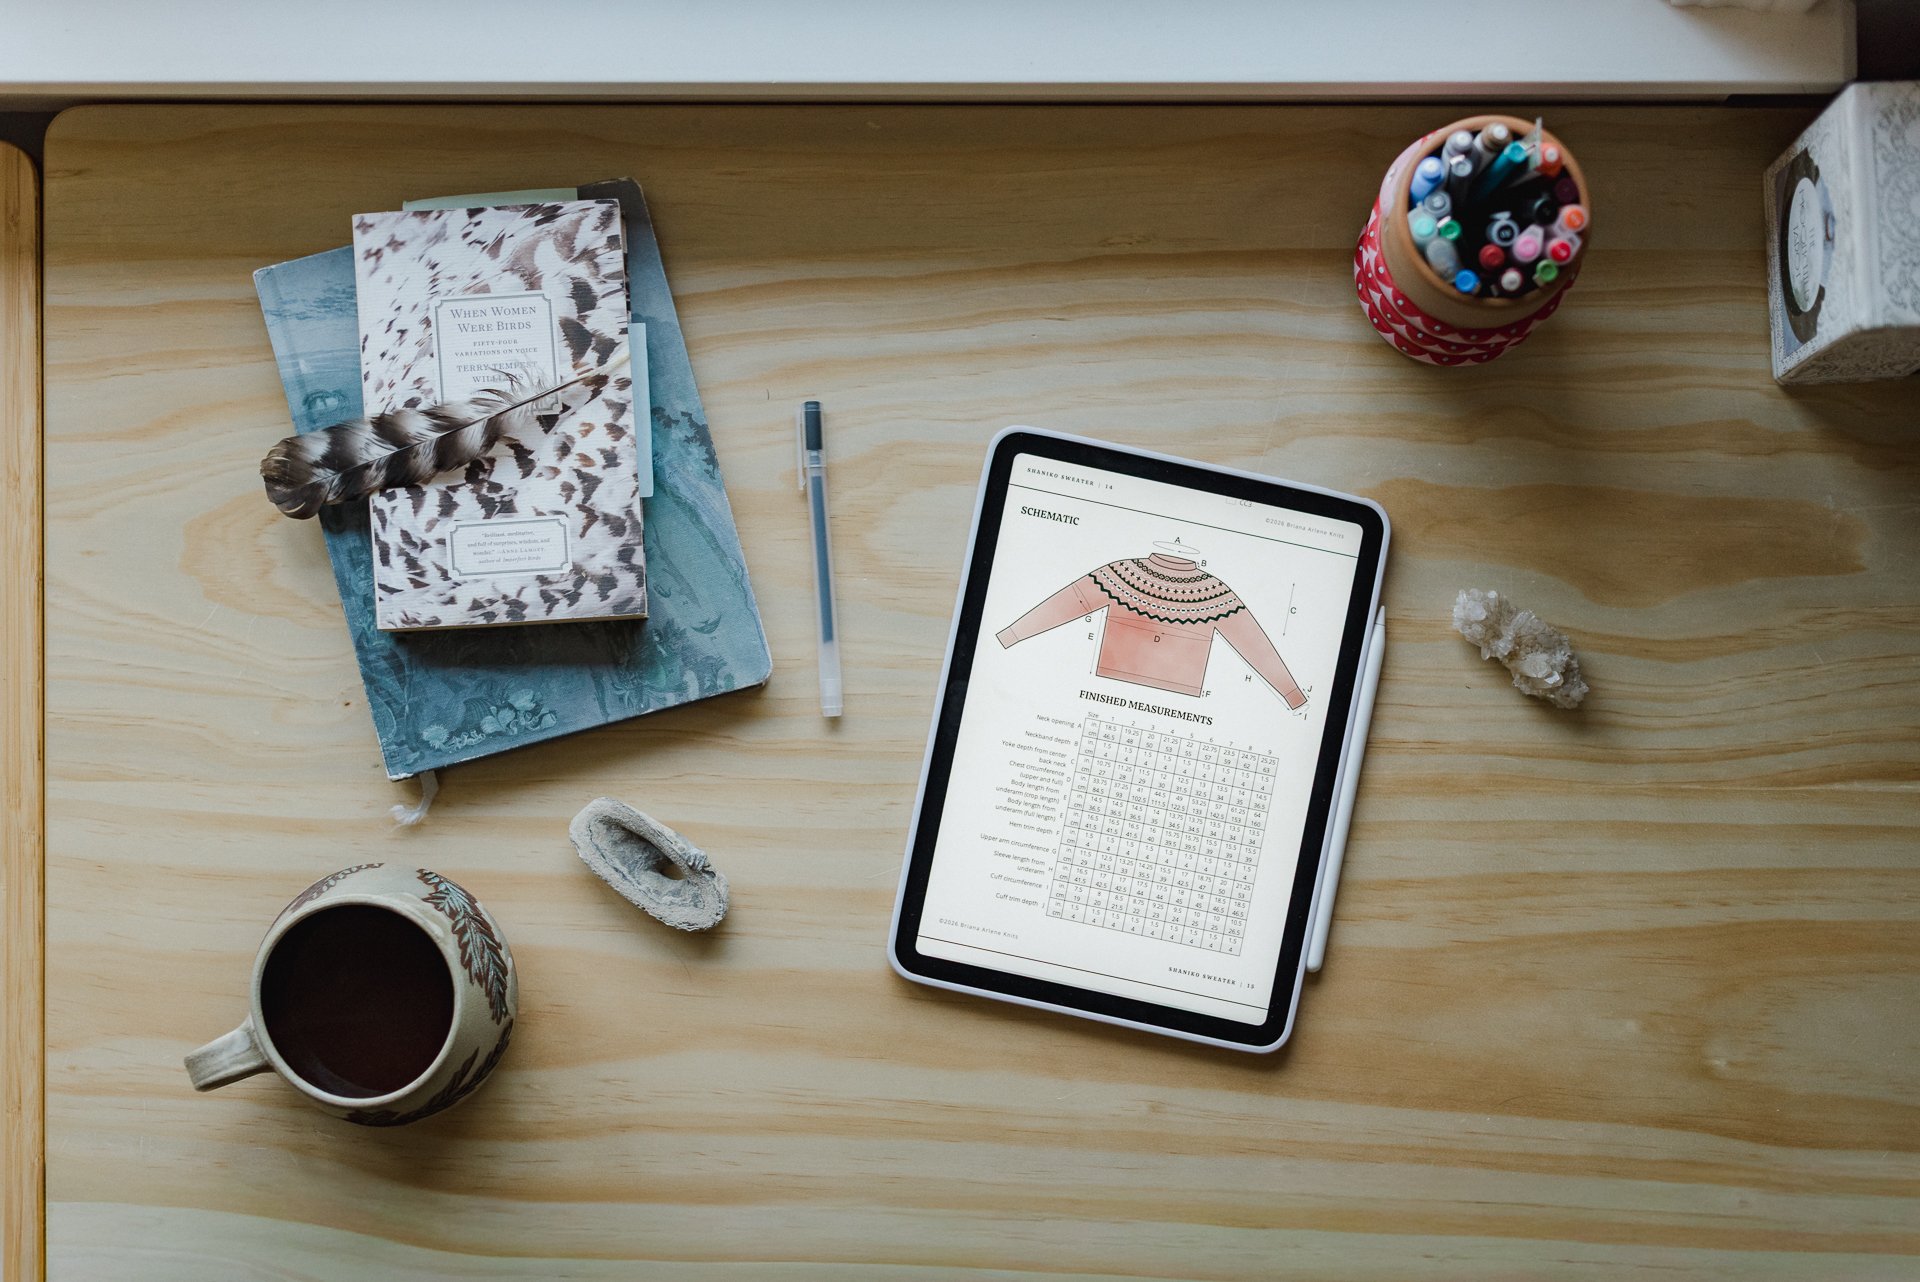
A comprehensive measurement table goes beyond chest circumference. It includes measurements such as neckband circumference, yoke depth, upper arm circumference, and more, all of which are key to predicting fit.
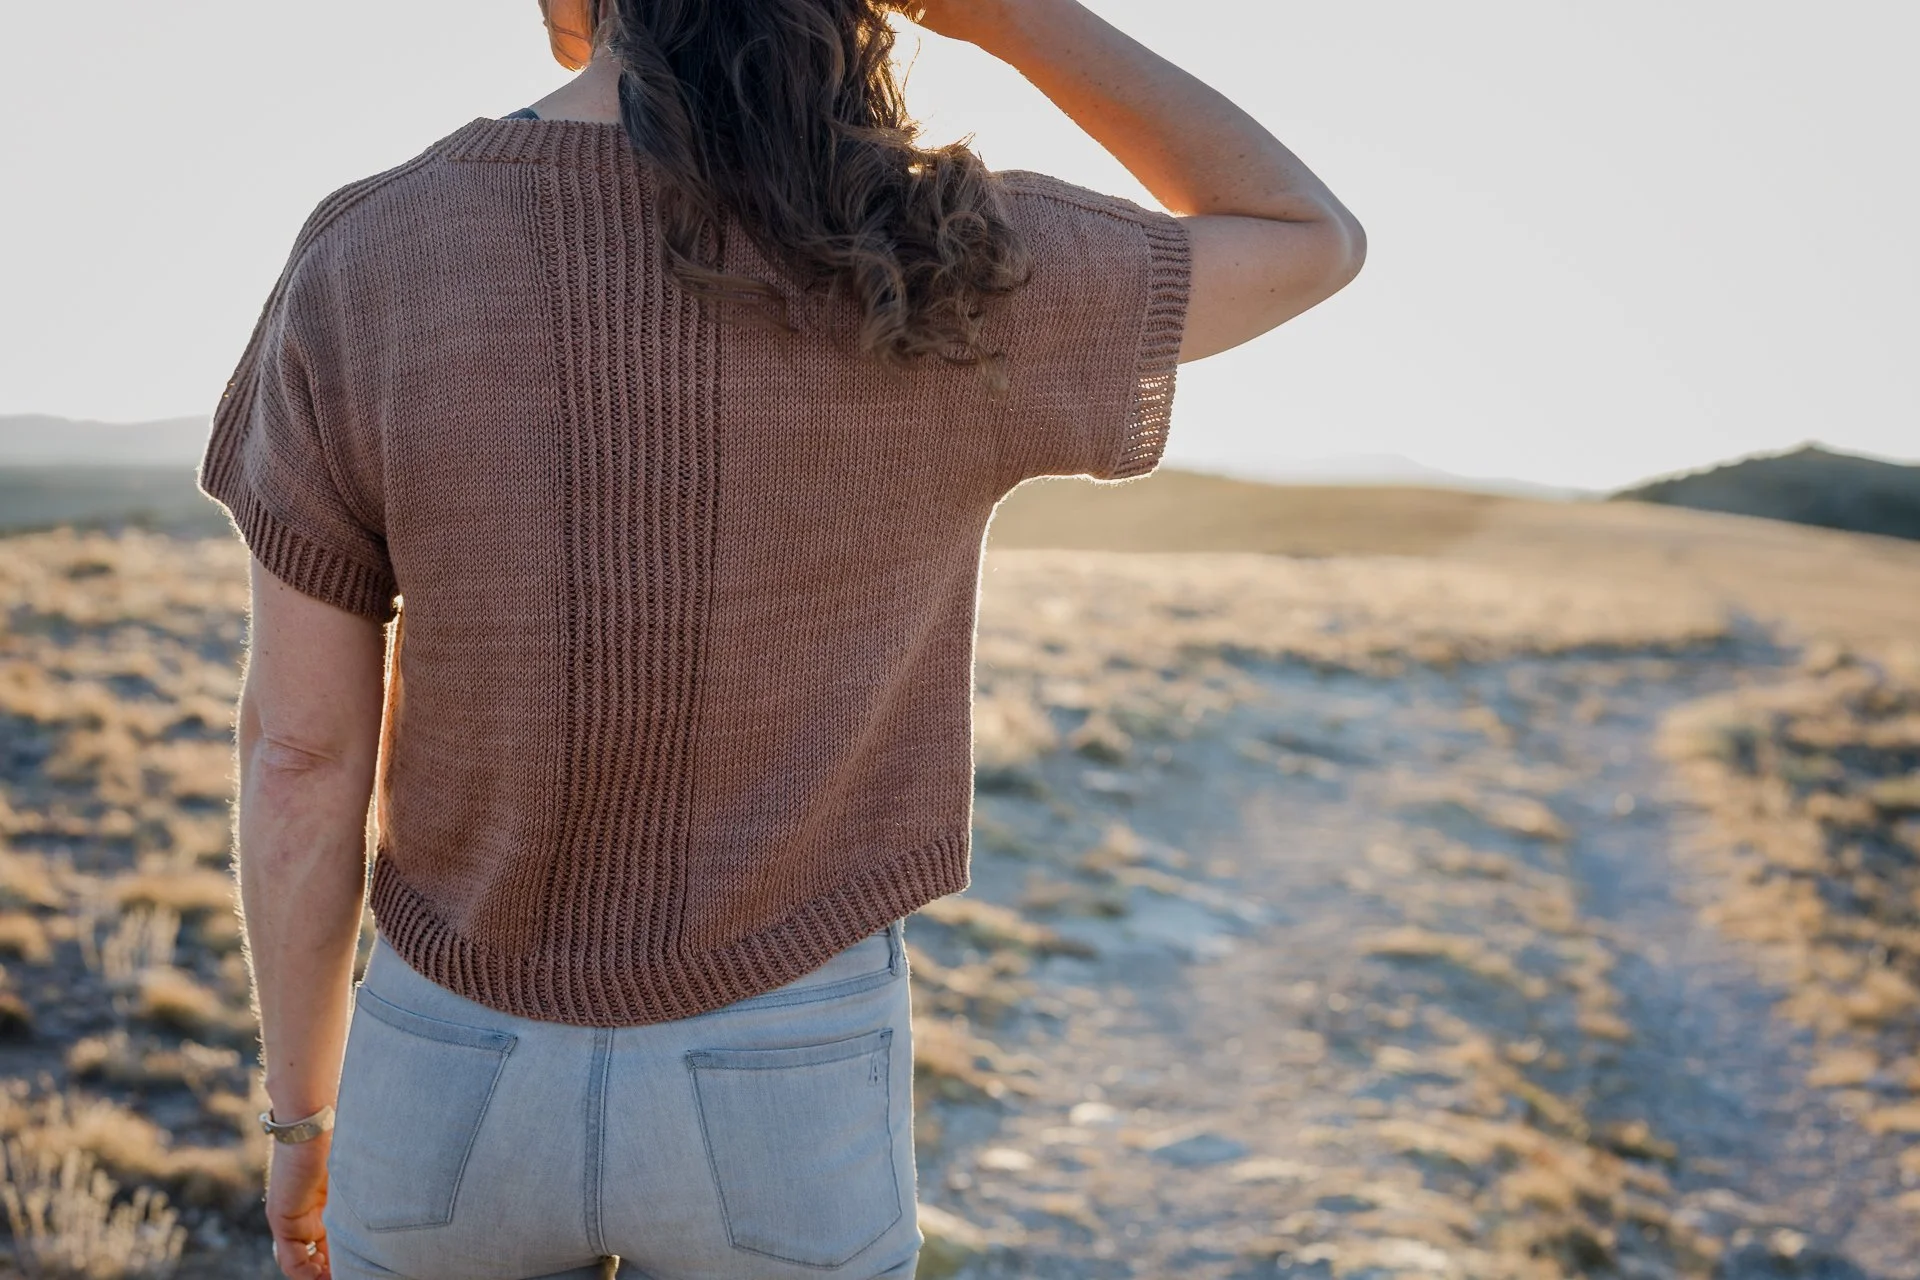
Pattern: Shaniko Sweater
Photo: Briana Arlene Knits
Choose a pattern with a comprehensive measurement table.
Chest circumference alone isn’t enough to determine fit. A well-written pattern includes multiple finished measurements, such as:
Upper chest
Full chest
Upper arm circumference
Yoke or armhole depth
Neckline measurements
These details help you evaluate how the garment will fit your body—not just in width, but in proportion.
Choose size-inclusive patterns.
Everyone deserves clothing that fits well—especially when you’re making garments stitch-by-stitch with your own two hands.
As a general guideline, patterns that cover full chest measurements from about 30 to 60 in. (75 to 150 cm) are considered size-inclusive. Supporting designers who prioritize inclusive sizing helps move the industry toward better standards for everyone.
Choose patterns that have been well tested.
A pattern might look polished, but testing is what reveals how it performs across different sizes and bodies.
If the pattern is on Ravelry, check the Projects tab:
Are there projects across a range of sizes?
Do the garments fit well on different bodies?
Are there consistent issues showing up?
This kind of real-world data is incredibly valuable.
Choose patterns with clear, thorough photography.
Photos aren’t just aesthetic—they’re informational.
Look for multiple views (front, back, side) and close-ups of key design details. Good photography helps you understand fit, drape, and proportion in a way that numbers alone can’t.
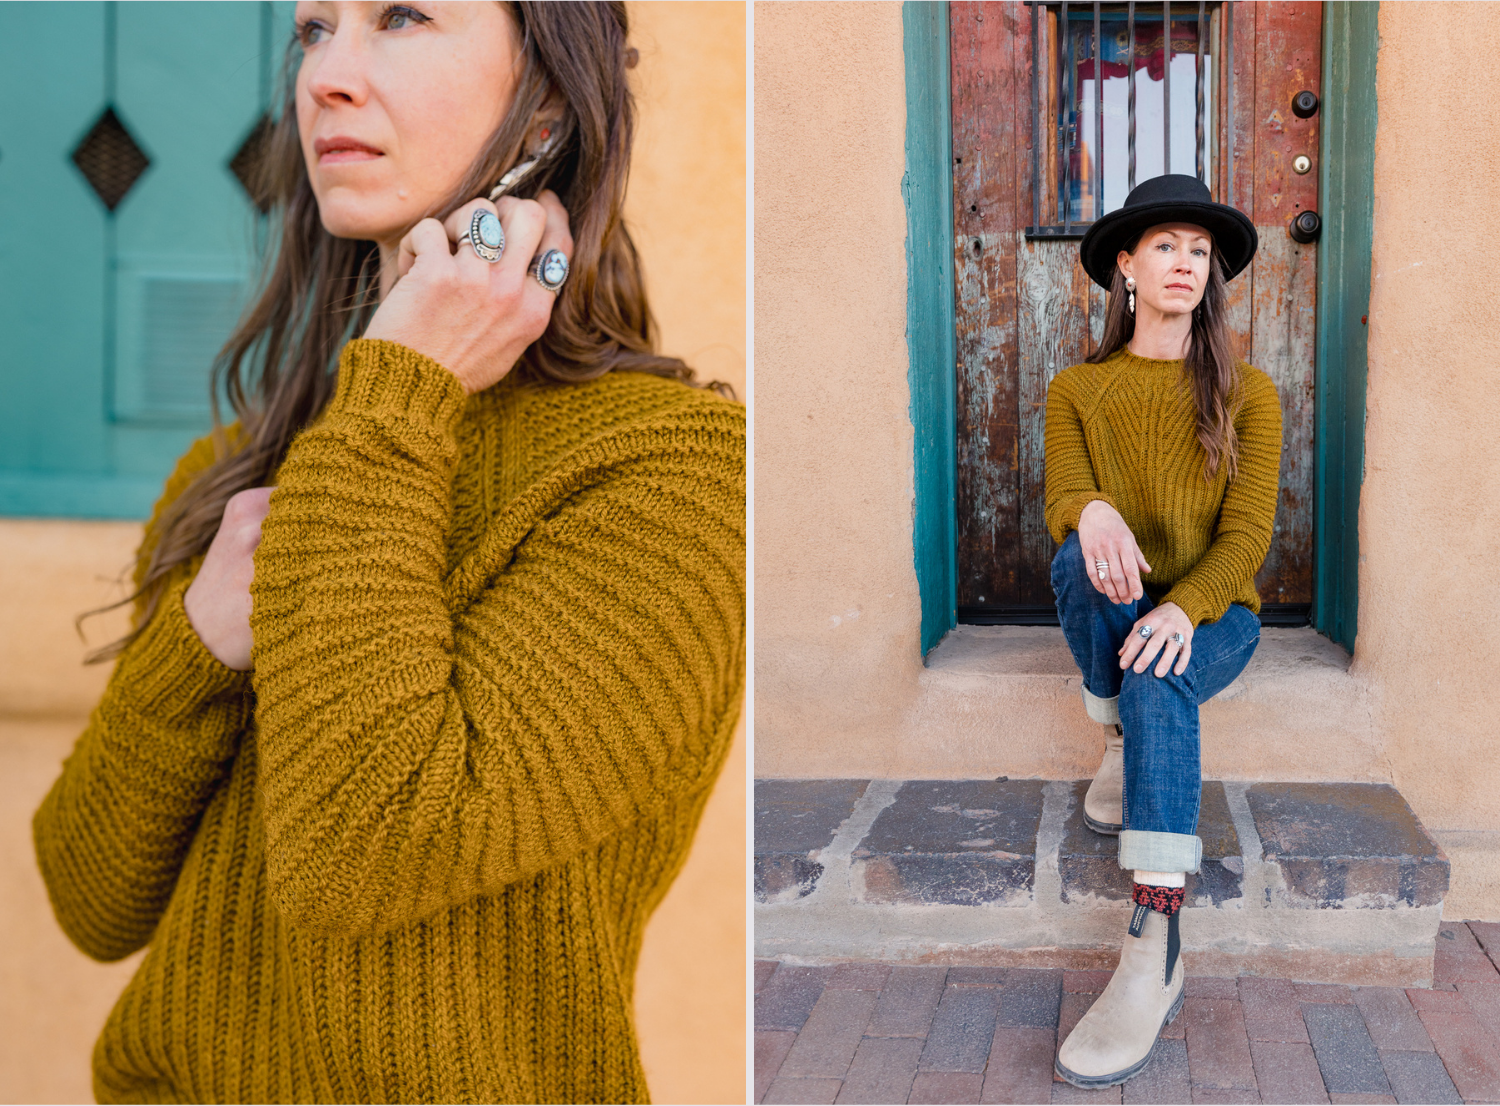
More photos = more information. Look for patterns that include front, back, and side views to fully understand fit and proportion.
Pattern: Sunstone Sweater
Photos: Alton Richardson Studios
YOUR BODY’S MEASUREMENTS
BEFORE YOU CAN CHOOSE a size, you need accurate measurements of your own body. At a minimum, measure:
Upper chest (above the bust, under the arms)
Full chest (fullest part of the bust)
Upper arm circumference
Additional helpful measurements include:
Shoulder width (shoulder tip to shoulder tip across the back)
Neck circumference
Waist and hip circumferences
Armcye depth (vertical length from the high point shoulder to the underarm)
That last one is especially useful—it helps you determine whether a sweater’s yoke or armhole depth will actually fit your body.
Write these measurements down and revisit them occasionally. Bodies change over time, and that’s completely normal.
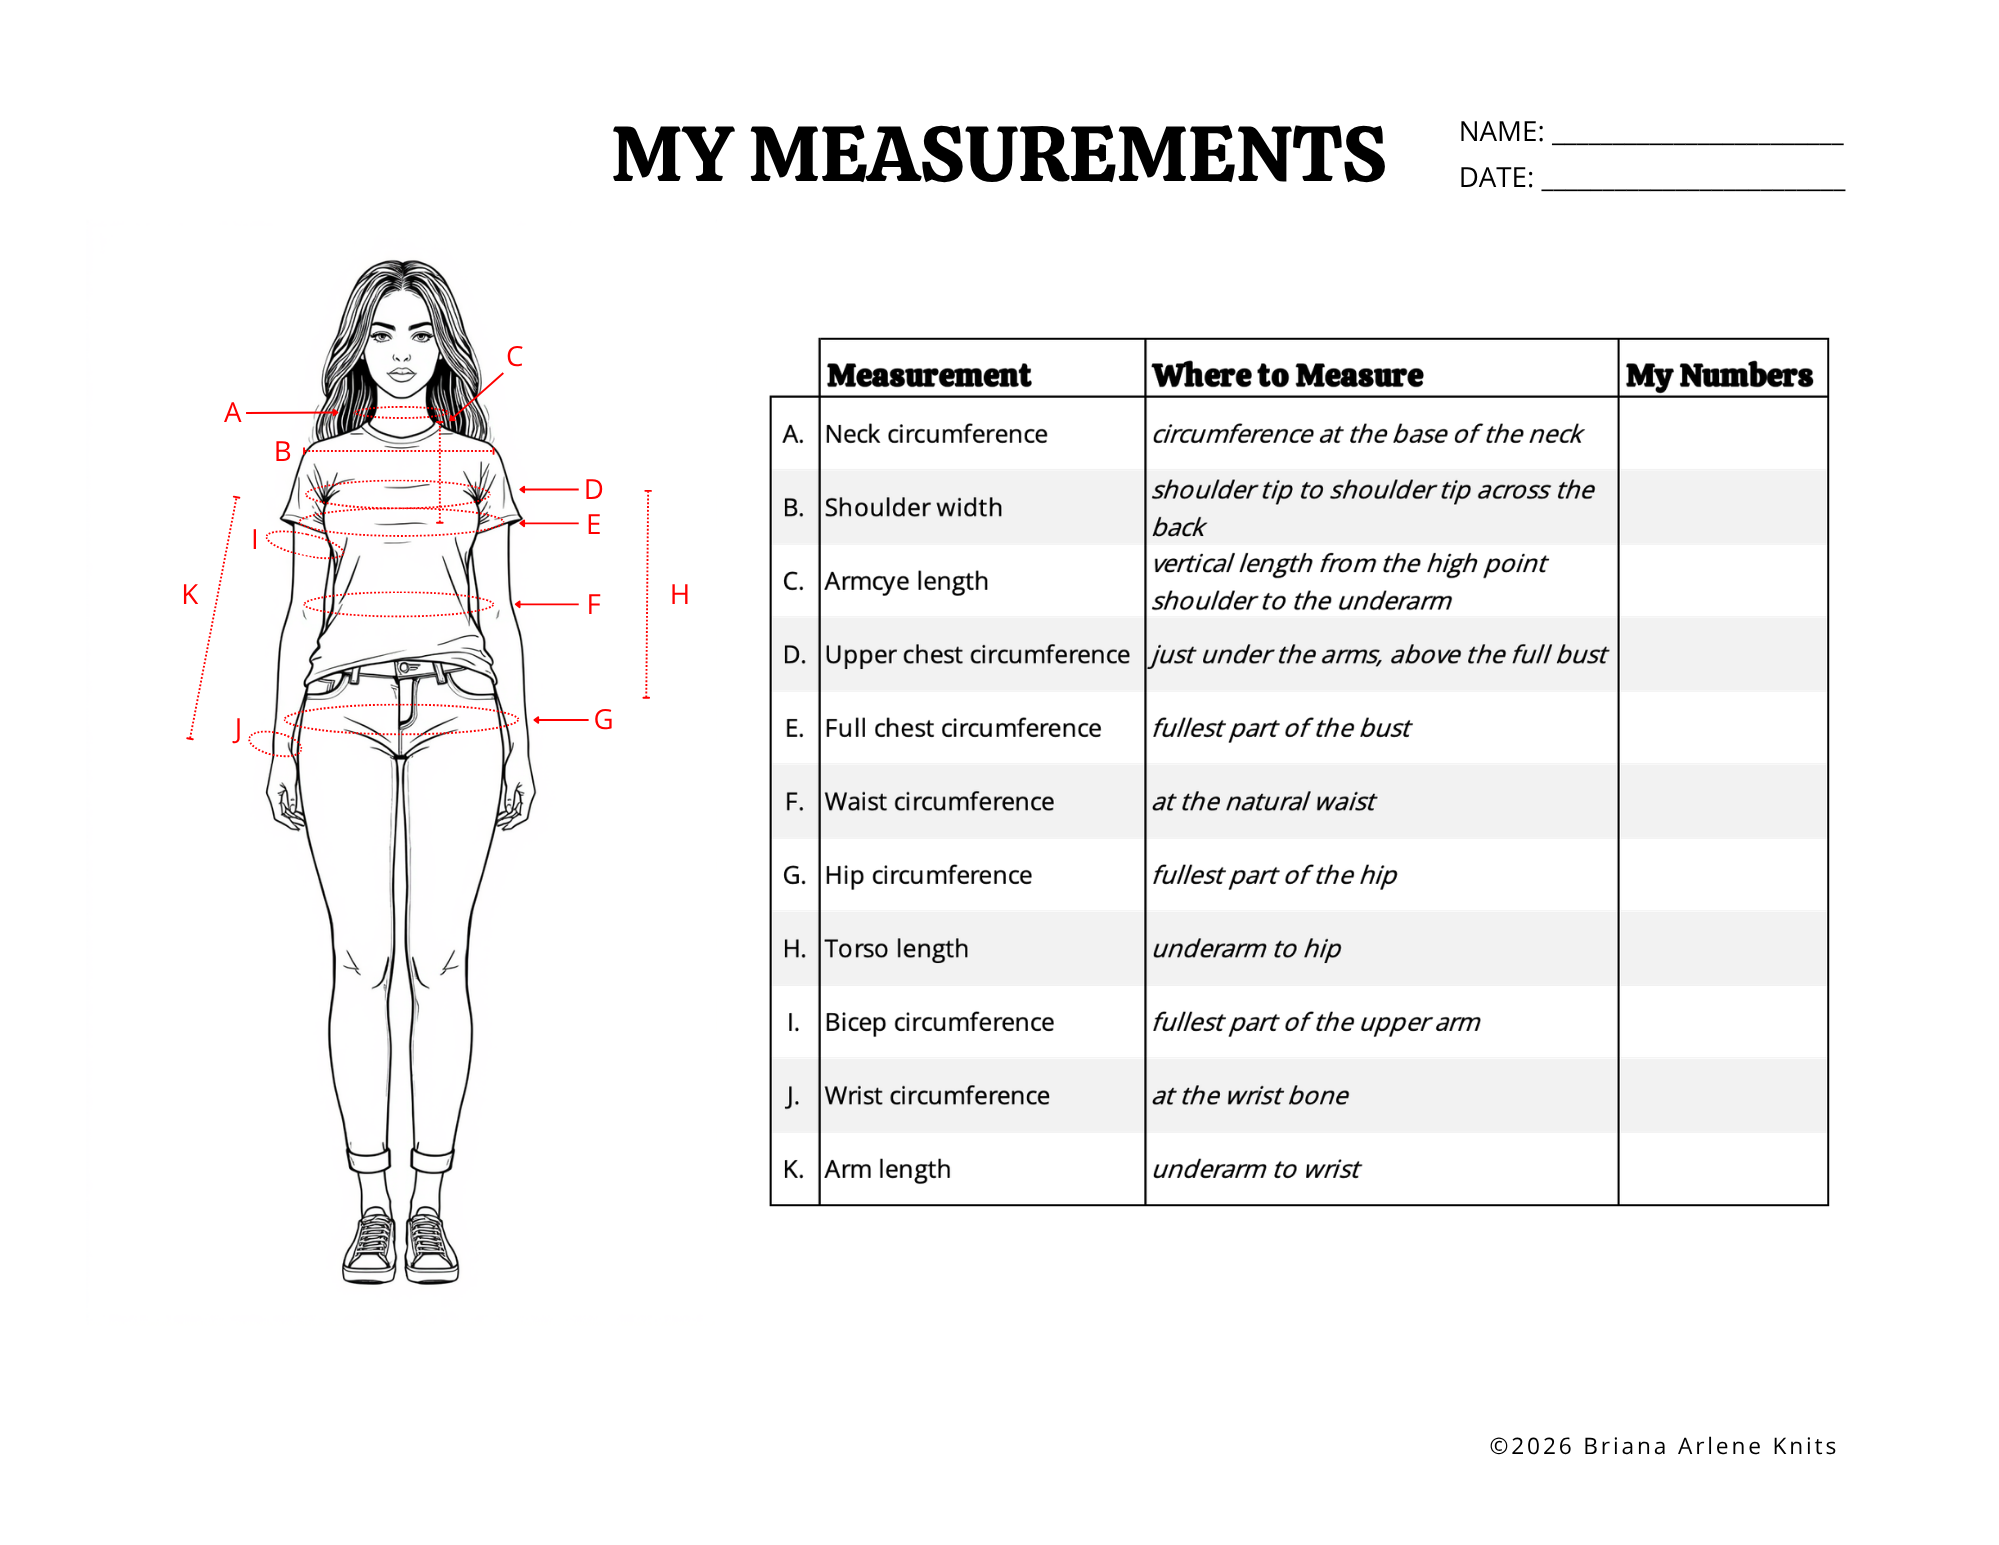
Take your measurements, write them down, and make a habit of revisiting them occasionally. You can download the Printable Measurements Sheet above to help you get started!
INTENDED EASE
ONCE YOU KNOW your measurements, the next step is understanding ease.
Ease is the difference between your body measurements and the finished garment measurements. It’s what determines whether a garment feels fitted, relaxed, or oversized.
Ease can be negative, zero, or positive:
Negative ease means the garment is smaller than your body measurement and stretches to fit (common in ribbed garments, socks, or close-fitting tops)
Zero ease means the garment matches your body measurement exactly
Positive ease means the garment is larger than your body, creating room and drape
Most sweaters are designed with positive ease, but the amount can vary widely depending on the style and construction. For example, a pattern for a set-in sleeve top might recommend 1 to 3 in (2.5 to 7.5 cm) of positive ease, while a drop-shoulder sweater might look great with anywhere from 4 to 14 in (10 to 35 cm) of positive ease or more.
Well-written patterns include a recommended ease range. This isn’t arbitrary—it reflects how the designer intended the garment to fit and how its proportions were designed to work.
When choosing a size, you’re not trying to match your body measurements exactly. You’re choosing a size that gives you the amount of ease you want, within the range that works for the design.
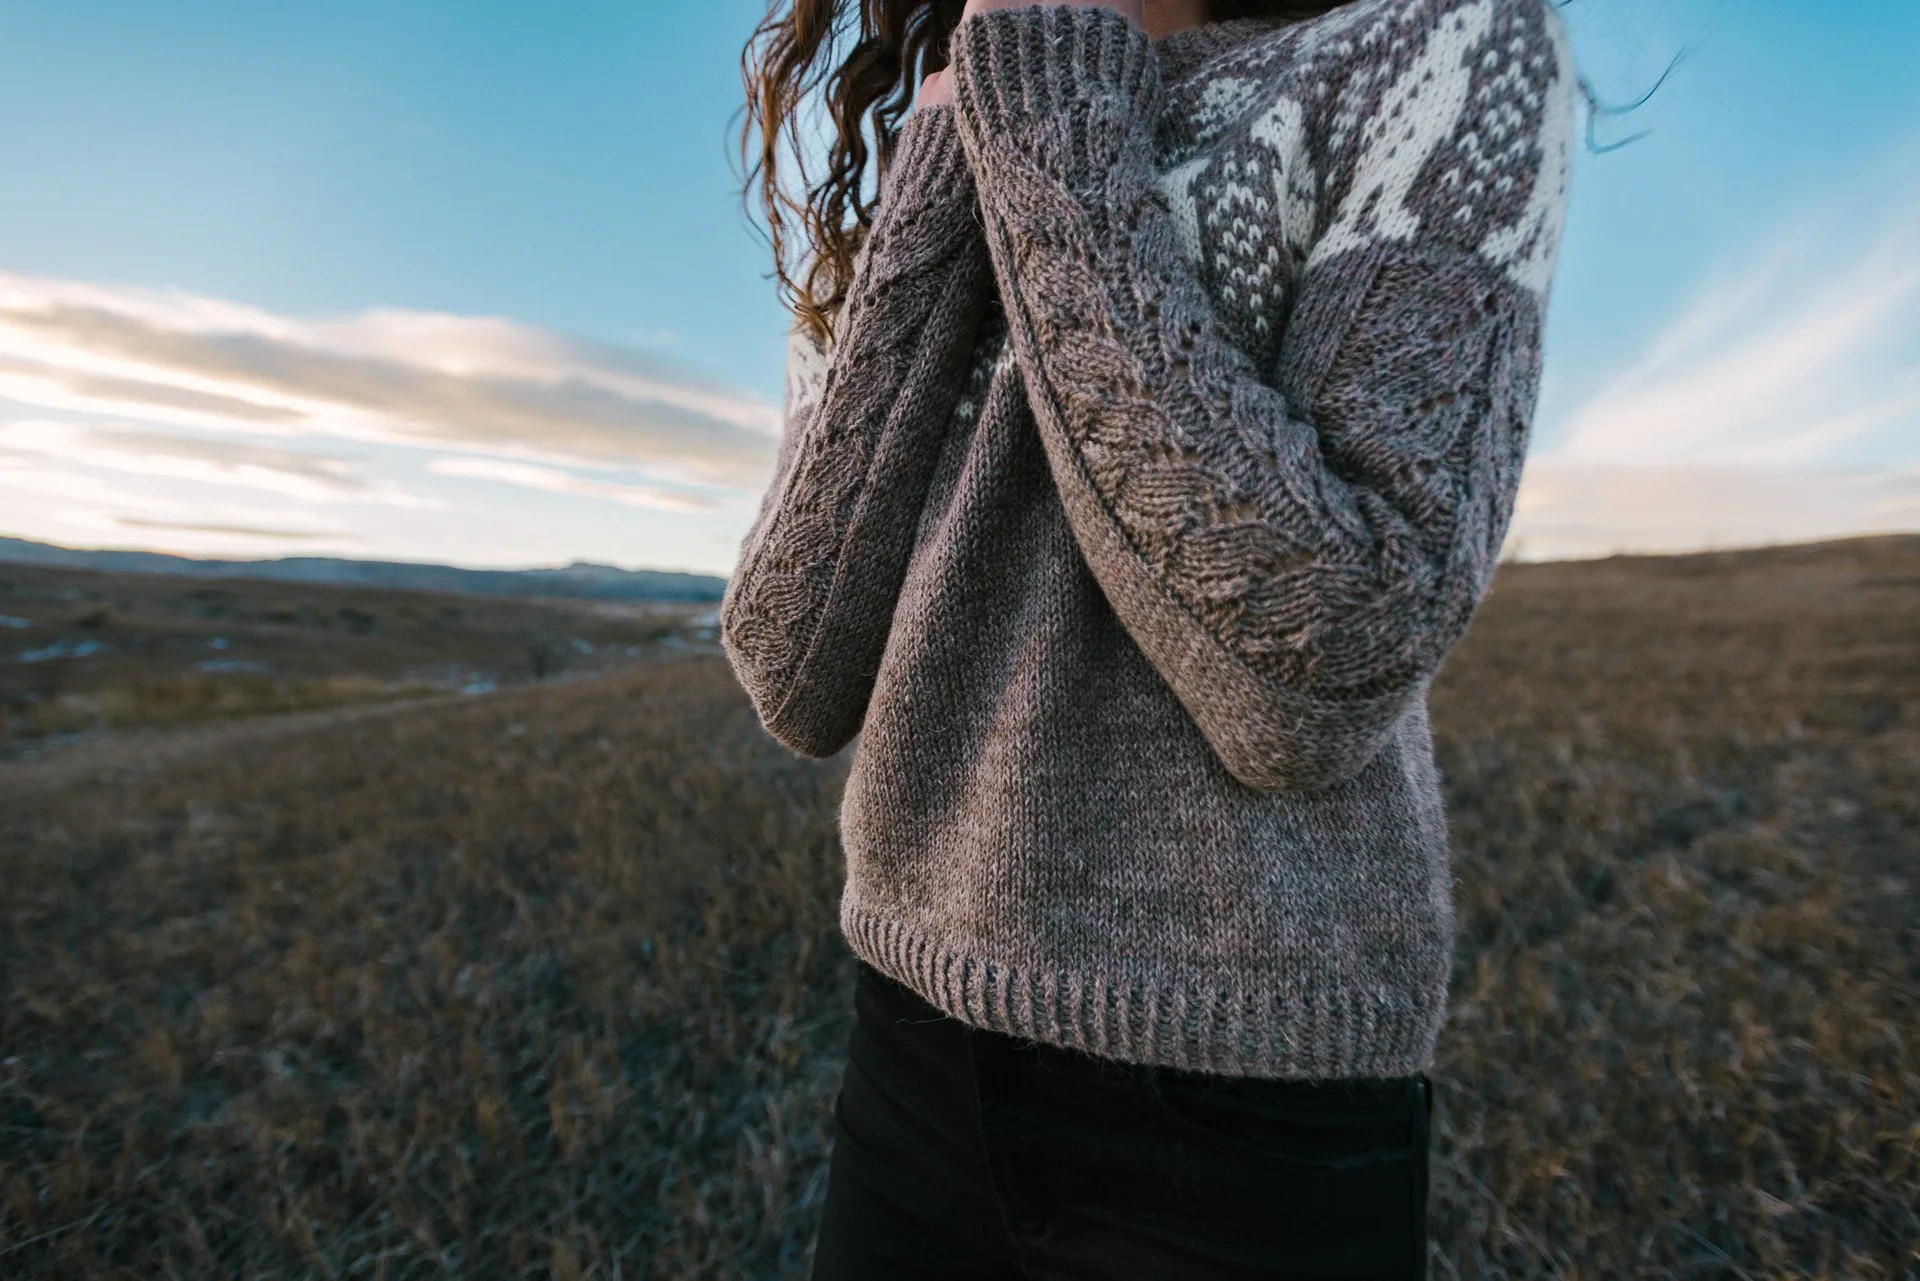
Ease isn’t just about comfort—it affects proportions. This design was intended to be worn with 6 to 10 in. (15 to 25.5 cm) of ease. More than that, and the sleeve-to-body proportions start to overwhelm the silhouette, creating too much volume in the sleeves.
Pattern: Stratus Tee (coming in May! Sign up to be notified)
Photo: Alton Richardson Studios
PERSONAL FIT PREFERENCE
EVEN WITH A RECOMMENDED ease range, there’s room for personal preference.
You might prefer a cozy, oversized sweater with lots of positive ease, while your knitting bff loves a tailored, close-fitting silhouette. Neither is right or wrong.
The key is to be intentional.
If you prefer more or less ease than the pattern recommends, you can absolutely adjust—but keep in mind that going too far outside the intended range may change the proportions of the design.
Think of the recommended ease as the “design sweet spot,” and your preference as where you choose to land within (or slightly outside) that range.
GAUGE
YOU DIDN’T THINK we were going to talk about swatching, did you? But gauge plays a critical role in how your finished garment will fit.
While it’s always best to match the designer’s gauge as closely as possible, in practice, many knitters end up slightly off. Even small differences can have a noticeable impact on the final size and proportions of a garment.
If your gauge is off, consider how that difference scales across the garment:
A different stitch gauge will affect circumferences.
A different row gauge will affect lengths and depths.
Use the schematic and finished measurements table to estimate how your gauge will affect key dimensions like chest circumference (upper and full), yoke depth, and upper sleeve circumference.
If you’re unsure how to proceed, don’t hesitate to reach out to the designer—most provide pattern support and can help you think through sizing decisions.
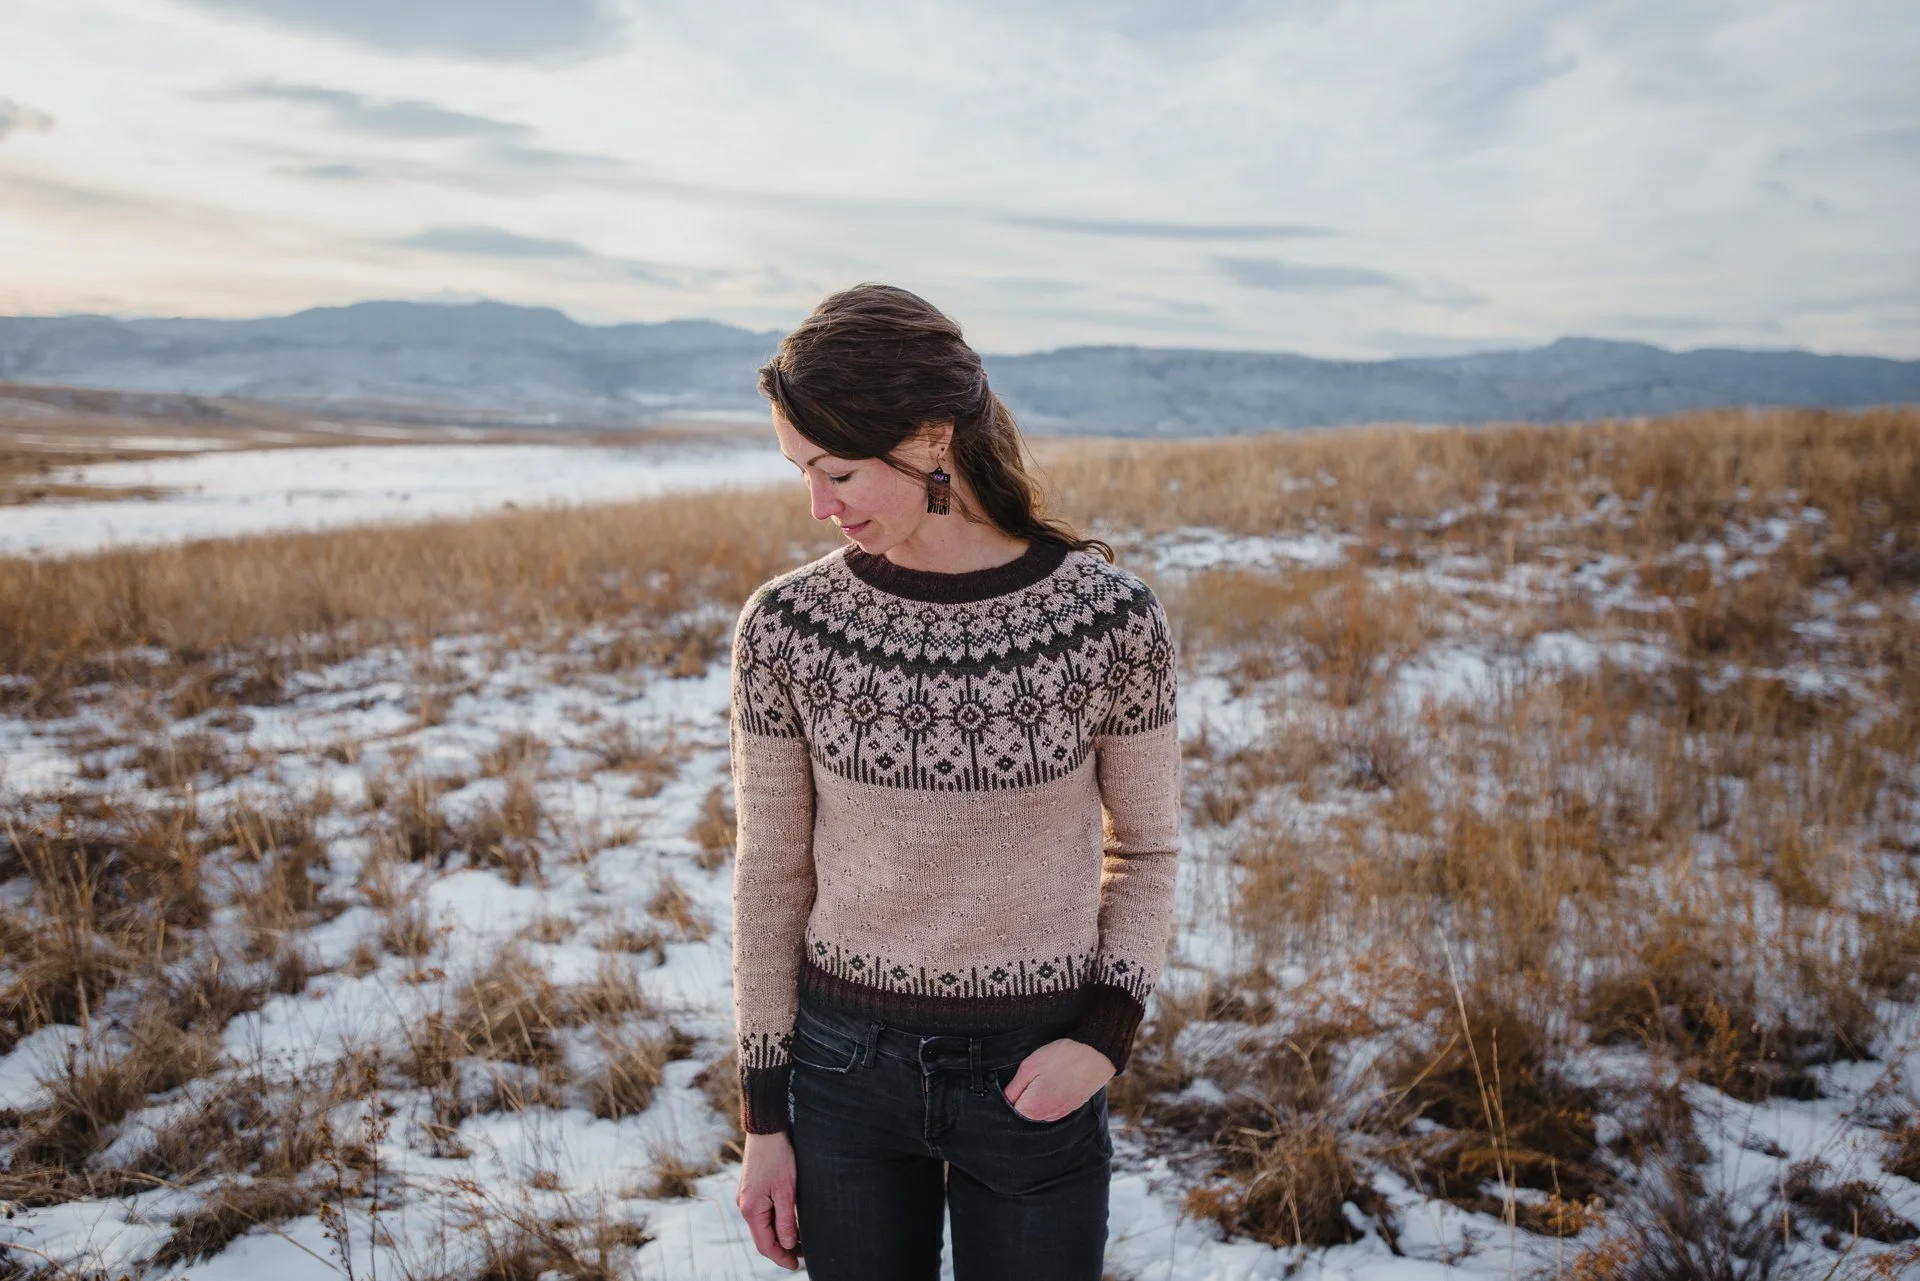
This neckline sits somewhere between close-fitting and relaxed—but a photo alone doesn’t tell the full story. To understand how it will actually fit, you need to compare your neck circumference to the pattern’s finished measurements table.
Pattern: Kindred Light Sweater
Photo: Briana Arlene Knits
HOW TO CHOOSE THE RIGHT SIZE FOR YOU
NOW THAT YOU HAVE your measurements, understand ease, and have considered gauge, you’re ready to choose your size.
A reliable approach is:
1. Start with your upper chest measurement.
Use this as your primary reference point when selecting a size. Because sweaters hang from the shoulders, this measurement gives you the best foundation for overall fit.
2. Compare to finished garment measurements.
Look at the chest circumference of each size and calculate the resulting ease. Choose the size that gives you your desired amount of ease within the pattern’s recommended range.
3. Check the upper arm measurement.
This is a sneaky one that many knitters overlook! Make sure the sleeve circumference is comfortable at the upper arm and underarm. Even in a fitted garment, you still need some positive ease in and around the arm so you can move comfortably.
Your pattern’s finished measurements table should include upper arm circumference. Use this to check whether the sleeve will fit your body with the intended ease.
As a general rule of thumb, aim for at least 1 to 2 in (2.5 to 5 cm) of positive ease at the upper arm for fitted garments, and 2 to 4 in (5 to 10 cm) or more for relaxed or oversized sleeves. This ensures comfort through a full range of movement.
If the upper arm is too tight, consider sizing up or planning a sleeve adjustment. You can have a sweater that fits beautifully everywhere else, but if it’s strangling your underarms, you are never going to wear it!
4. Review key vertical measurements.
Check yoke depth or armhole depth against your own measurements to ensure the garment will sit correctly on your body.
If the vertical fit isn’t quite right, consider whether the design allows for easy yoke adjustments. Some garments are straightforward to lengthen or shorten—especially simple stockinette or minimally patterned sweaters. Others are more fixed in structure. Raglans and sweaters with allover colorwork or intricate stitch patterns, for example, can be more difficult to modify without affecting the design.
The key is to evaluate both the vertical measurements and how flexible the construction is before deciding how (or if) to adjust fit.
5. Adjust for full chest if needed.
If you have a larger difference between your upper chest and full chest measurements, choose your size based on your upper chest, then evaluate the full chest measurement of that size.
If it doesn’t provide enough ease, you can:
Add bust shaping
Choose a slightly larger size and adjust elsewhere
Modify the pattern to better accommodate your proportions
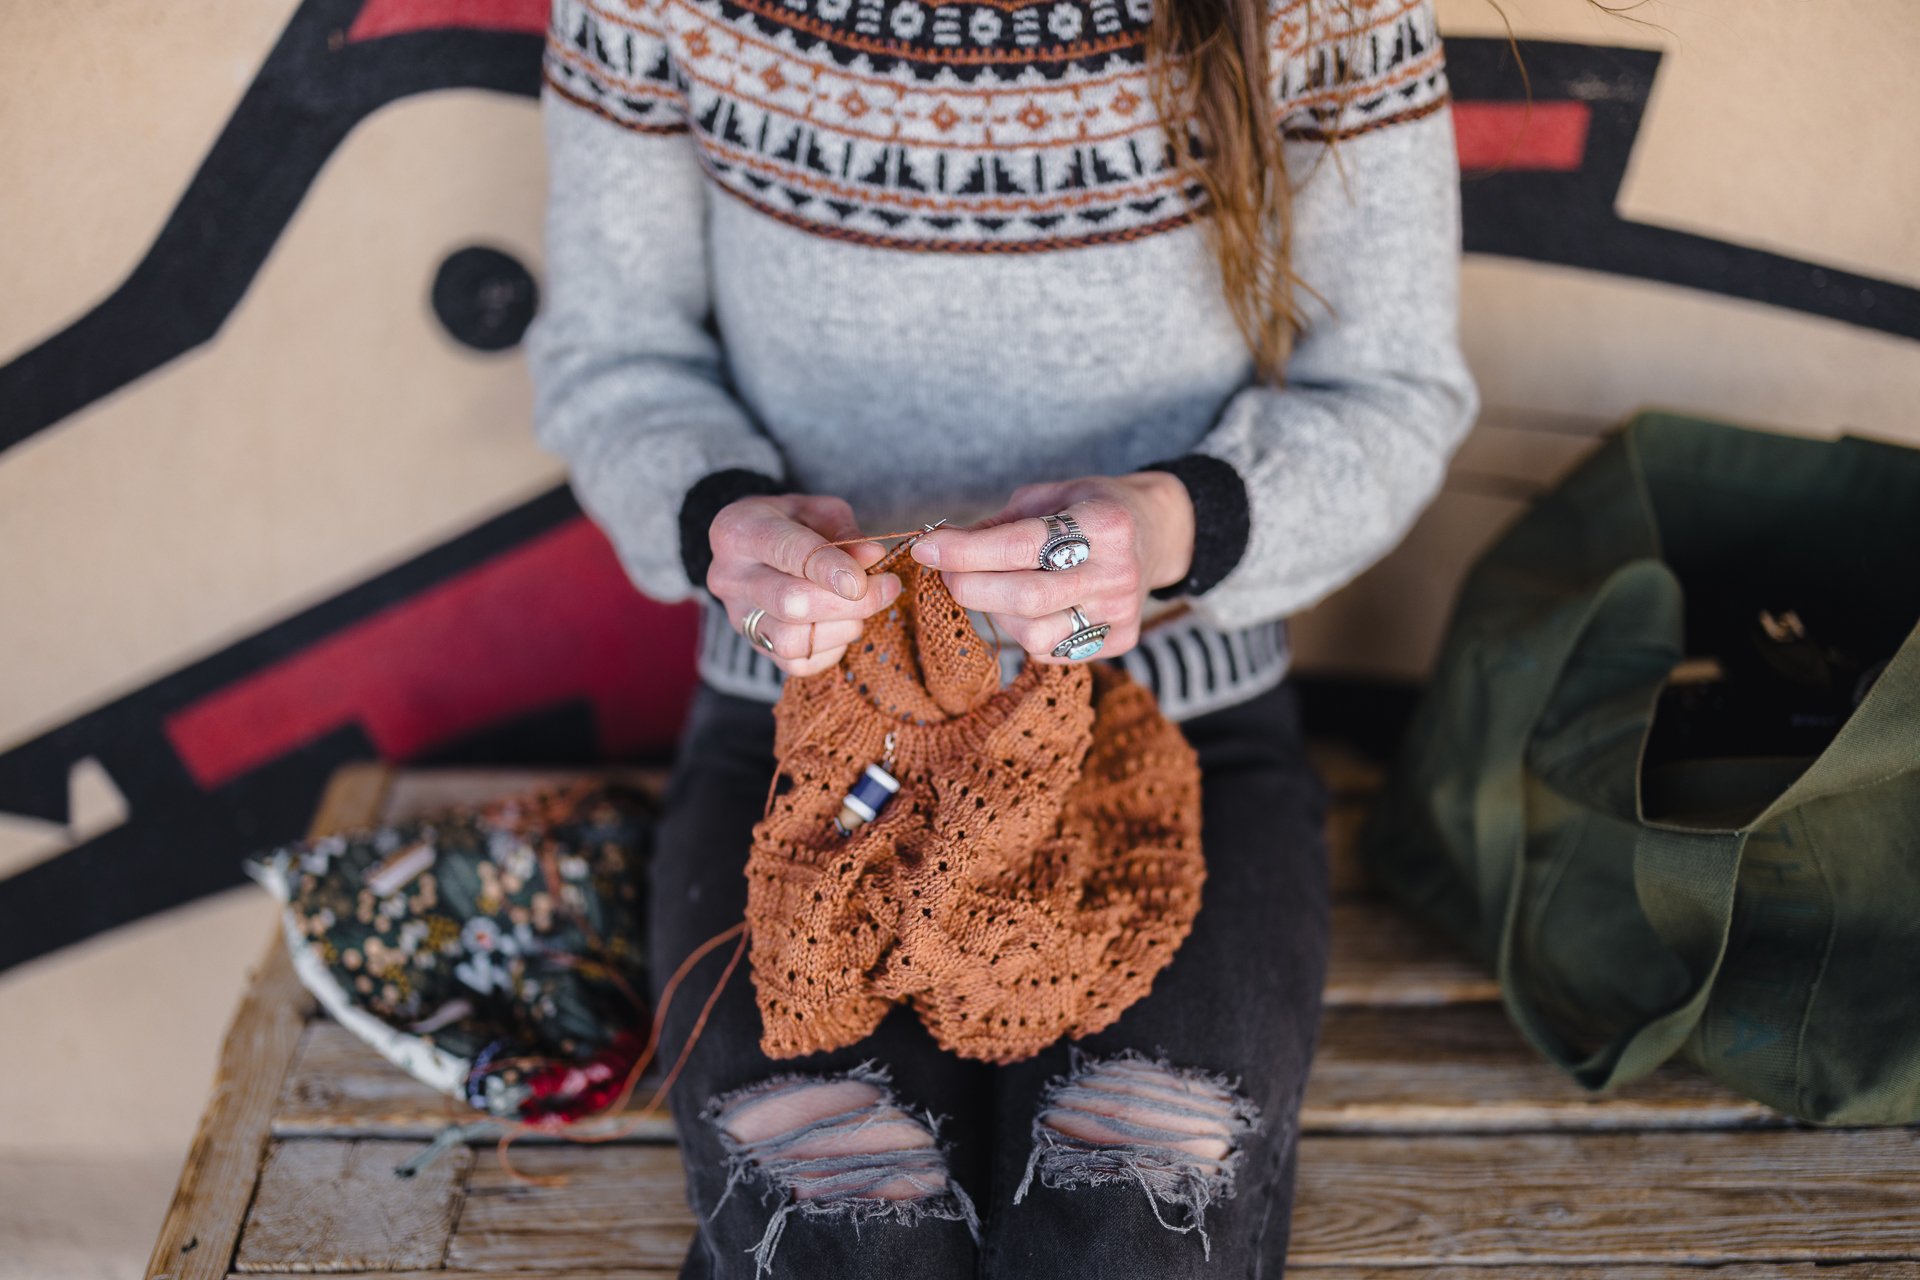
Don’t overlook the upper arm circumference when selecting your size! Even in more fitted sweaters, you need some positive ease here so you can move comfortably.
Pattern: Folk Rabbit Sweater
Photo: Briana Arlene Knits
CONCLUSION
CHOOSING A SWEATER SIZE isn't just about matching your measurements to a chart—it's about understanding how patterns are constructed and how those numbers translate to actual garments. Earlier in this article, we explored pattern grading and how designers build size ranges from standardized body data. That system is invaluable, but it's only a starting point.
This is why choosing a well-written pattern matters as much as choosing the right size. When a pattern includes finished measurements, intended ease, a schematic, and clear sizing information, it gives you the tools to make informed decisions instead of educated guesses.
From there, everything becomes more intentional. You can evaluate ease, check gauge carefully, consider your personal fit preferences, and use your measurements as a guide rather than a rigid rulebook. No pattern will fit every body perfectly straight off the needles—and that's not the goal. The goal is to choose a starting point that gets you close, so any adjustments are thoughtful rather than reactive.
When you understand both how patterns are graded and how to evaluate pattern quality, sizing becomes less intimidating and far more flexible. You're no longer just following instructions—you're interpreting them with clarity and confidence.
Most importantly, you know your body best—what feels good, what doesn't, and what makes you feel most like yourself when you wear it. If this has felt like a lot of information, take a deep breath and remember the joy of creating beautiful things with your own two hands. All of this technical knowledge is simply in service of that: helping you make sweaters you love to wear.
You are ultimately the expert when it comes to what good fit means for you.
When you understand where sweater sizing comes from—and how to choose a size for your body—you can knit with confidence.
Pattern: Carmel Sweater
Photo: Alton Richardson Studios
ADDITIONAL RESOURCES
Want to learn more? Here are a few resources I recommend checking out!
Blog Posts
How to Choose What Size to Knit from a Sweater Pattern | Ysolda Teague
Using the Upper Chest Measurement to Choose Your Sweater Size | One Wild Design
Videos
Ease and How to Choose Your Size | Knit Talk with a Tech Editor, Episode 1
How to Choose the Best Size for You from a Knitting Pattern | Wool Needles Hands
Books
Little Red in the City | Ysolda Teague