Customizing Sleeve Length on a Sweater with Classic Tapered Sleeves

Getting that “just right” sleeve length doesn’t happen by accident—it comes down to a few key numbers. Read on for a step-by-step guide to calculating your own custom sleeve fit.
Photo: Briana Arlene Knits
IF YOU’VE KNIT EVEN ONE SWEATER, you’ve probably noticed this: the sleeve length, as written in the pattern, almost never matches your arms perfectly.
Maybe your sleeves are always a little too short. Or maybe you keep rolling the cuffs up because they’re too long.
Either way, it’s not you—and it’s not necessarily the pattern.
In this article, I’ll explain why sleeve length so often feels “off,” and walk you through how to calculate your own tapered sleeve decreases from the start—so you don’t end up ripping back a finished sleeve just to fix the length. I’ve also included a downloadable cheat sheet to help you work through the process.
Why Is the Sleeve Length Always Wrong?
Well-written knitting patterns are graded using standardized body measurements. These measurements are drawn from large datasets, aggregated and averaged to represent a range of body sizes. This creates a reliable foundation for designing patterns across multiple sizes.
But here’s the catch: No individual body matches a size standard exactly.
Unless your arm length happens to align perfectly with the statistical average for your size, the sleeve length in a pattern is unlikely to match your arm precisely.
If you consistently find sleeves too short—or too long—across multiple designers, it’s probably because your arm length falls outside the typical proportion used in grading. In other words, the pattern isn’t “wrong”—it’s just based on a normal distribution (remember those from math class?), and your arm length falls above or below the exact middle of that curve.
If you’d like a deeper dive into grading and sizing, you can read more in my article on that topic here.
I will also caveat that if you’ve been knitting for a while, you know that some patterns are graded from the designer’s measurements rather than a true size standard. That’s not statistically accurate or ultimately professional in my opinion—but that’s a whole separate conversation from the topic at hand!
Personal Preference Also Comes into Play
In addition to body proportions, personal preference plays a big role in sleeve length.
For full-length sleeves, there are a few common fit styles:
Bracelet length: ends just above the wrist bone
Traditional length: ends at the wrist bone
Extra-long: extends to the base of the thumb
These differences may seem subtle, but they can significantly affect the overall feel of a garment. In practice, the variation between these styles is typically about 1–2 in. (2.5–5 cm) total, depending on your arm length and how you like your sleeves to sit.
Before adjusting a pattern, it’s worth deciding which length you prefer—because the “right” sleeve length isn’t just about matching your measurements, but about how you want the finished sweater to look and feel when you wear it.

A classic, traditional sleeve length: with my arm at my side, the cuff hits right at the wrist bone. Also, how gorgeous is this Arches National Park sunset?
Pattern: Folk Spells Sweater
Photo: Briana Arlene Knits
Gather Your Numbers
Now let’s get into how to adjust your sleeves.
Let’s say you’ve finished the body of your sweater and you’re ready to knit the sleeves. If you suspect you’ll need to adjust the sleeve length, now is the time to do the math—before you start knitting—so you don’t end up reworking a finished (or nearly finished) sleeve.
For a classic tapered sleeve, you’re not changing the overall shape—you’re simply adjusting the rate of decrease to achieve your desired length.
You’ll need the following numbers:
From your pattern:
Total stitches at the upper sleeve (sleeve pick-up)
Total stitches at the cuff
Number of stitches decreased on each decrease round (typically 2 or 4)
Cuff length
From your own measurements:
Your preferred total sleeve length, based on how you like your sleeves to fit (bracelet, traditional, or extra-long, etc.)
To measure this, try on your sweater and measure from the underarm to your desired sleeve endpoint (wrist, above wrist, or base of thumb). Record this number to the nearest 0.25 in. or 0.5 cm.
TIP: Take this measurement for every sweater.
While you may have a general “go-to” sleeve length (one of those so-called magic numbers), the exact length can vary from project to project. Factors like sweater construction method or style, yoke depth, body ease, armhole ease, yarn fiber, and fabric drape all affect how a sleeve hangs and where it ultimately lands on your body.
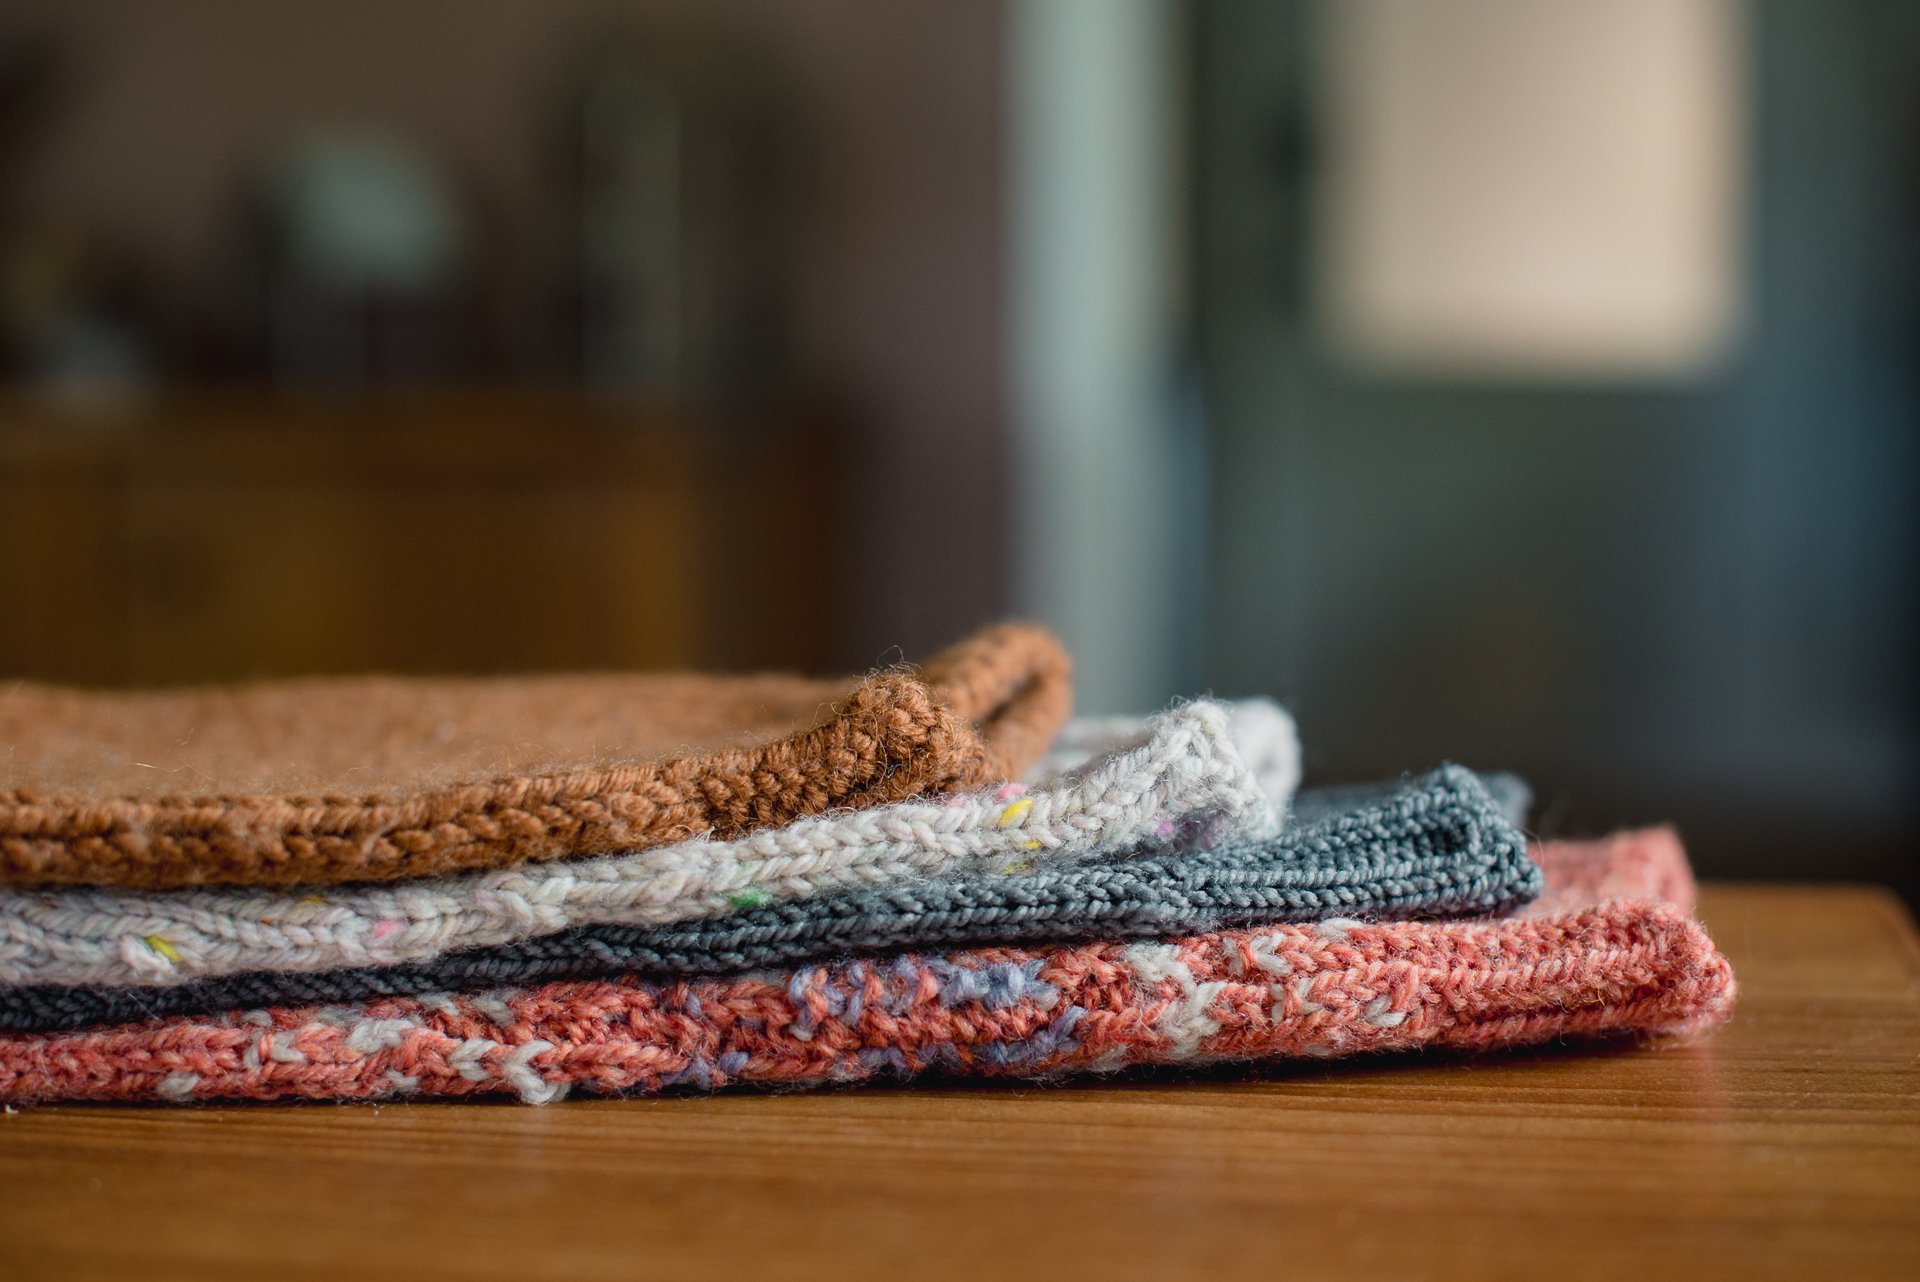
All of these sweaters were knit for the same person (me!), yet the sleeve lengths vary. Why? Because factors like construction method, yoke depth, body and armhole ease, yarn fiber, and fabric drape all influence how a sleeve hangs—and where it ultimately lands on your arm. This is why custom calculations make such a difference.
Photo: Briana Arlene Knits
How to Calculate Your Sleeve Decreases
We’re going to break this into a few simple steps. The goal is to determine how many decreases to work and how often to work them so your sleeve is the correct length by the time you reach the cuff.
1. Calculate your “work even” length
Most arms don’t begin narrowing immediately at the underarm. The upper portion of the sleeve—around the bicep—maintains a fairly consistent circumference before gradually narrowing closer to the elbow. This section of the arm roughly accounts for 25% of the total arm length (measured from underarm to wrist).
This is something I intentionally account for in my own patterns. Rather than starting decreases right away, I include a “work even” section at the top of the sleeve so the shaping better reflects how real arms are built. It’s a small detail, but it makes a noticeable difference in how the sleeve fits and feels overall.
To calculate your own:
Divide your preferred total sleeve length by 4 and round to the nearest 0.25 in. or 0.5 cm.
This is your work even length—the portion of the sleeve you’ll knit straight before beginning your decreases.
2. Calculate the decrease length
Now determine how much length is available for your decreases. To do this, you’ll subtract your work even length and your cuff length (since in a traditional tapered sleeve all decreases are completed before the cuff begins):
Decrease length = total sleeve length − work even length – cuff length
Round to the nearest 0.25 in. or 0.5 cm.
3. Calculate the number of decrease rounds
Next, determine how many stitches you need to decrease:
Upper sleeve stitches − cuff stitches = total stitches to decrease
Divide this number by the number of stitches decreased per decrease round (typically 2 for sleeves worked with k2tog/ssk decreases at the beginning and end of the round):
Total stitches to decrease ÷ stitches decreased per round = no. decrease rounds
4. Calculate your decrease interval
Divide your decrease length from Step 2 by the number of decrease rounds in Step 3:
Decrease length ÷ no. decrease rounds = decrease interval
This tells you how frequently to work a decrease round in inches or cm.
Example Calculation
Let’s walk through an example.
From your pattern:
Upper sleeve stitches: 112 sts
Cuff stitches: 68 sts
Stitches decreased per decrease round: 2 sts
Cuff length: 2 in. (5 cm)
From your personal measurements:
Preferred total sleeve length: 16 in. (40 cm)
Step 1: Work even length
Preferred total sleeve length ÷ 4 = work even length
16 in. ÷ 4 = 4 in. work even length
40 cm ÷ 4 = 10 cm work even length
Step 2: Decrease length
Total sleeve length − work even length – cuff length =decrease length
16 in. – 4 in. – 2 in. = 10 in. decrease length
40 cm – 10 cm – 5 cm = 25 cm decrease length
Step 3: Number of decrease rounds
Upper sleeve stitches − cuff stitches = total stitches to decrease
112 sts – 68 sts = 44 sts to decrease
Total stitches to decrease ÷ stitches decreased per round = no. decrease rounds
44 sts ÷ 2 sts decreased per rnd = 22 decrease rounds
Step 4: Decrease interval
Decrease length ÷ decrease rounds = decrease interval
10 in. ÷ 22 dec rnds = 0.45 in.
25 cm ÷ 22 dec rnds = 1.14 cm
Rounded to practical intervals you can measure as you knit:
0.5 in. between decreases
1.25 cm between decreases
(We’ll convert this into rounds in the next section.)
Putting It All Together
For this sleeve, you would:
Work even for 4 in. (10 cm)
Then work 22 decrease rounds
Decreasing every 0.5 in. (1.25 cm)
Until you reach 68 sts, then work your cuff
Further Refining Your Decrease Intervals
You can refine your sleeve shaping even further once you begin knitting by converting your decrease intervals to rounds.
Here’s the approach I use:
First, complete your work even section. Then lightly steam block the sleeve to allow the stitches to relax. This gives you a much more accurate sense of your true sleeve row gauge.
Why this matters: sleeves are knit at a smaller circumference than the body, so row gauge can shift slightly. If you’ve adjusted your needle size up for sleeves (a common practice), that can also affect your row gauge.
Now, using the example above, let’s say your sleeve gauge measures:
32 rounds per 4 in. (10 cm)
You can convert your decrease interval to rounds as follows.
Step 1: Convert to rounds per inch (or cm)
32 rounds ÷ 4 in. = 8 rounds per in.
32 rounds ÷ 10 cm = 3.2 rounds per cm
Step 2: Convert your decrease interval to rounds
From the previous section, your decrease interval is:
0.5 in. (or 1.25 cm)
Now multiply:
0.5 in. × 8 rounds per in. = 4 rounds
1.25 cm × 3.2 rounds per cm ≈ 4 rounds
This means you will work a decrease round every 4th round until you reach 68 stitches.
What If You’re Numbers Don’t Work Out So Cleanly?
When converting your decrease interval into rounds, you’ll often end up with a decimal rather than a whole number. That’s completely normal. Here’s how to handle it.
Let’s adjust the previous example and say your sleeve gauge actually measures:
30 rounds per 4 in. (10 cm)
Step 1: Convert to rounds per inch (or cm)
30 rounds ÷ 4 in. = 7.5 rounds per inch
30 rounds ÷ 10 cm = 3 rounds per cm
Step 2: Convert your decrease interval to rounds
0.5 in. per decrease interval × 7.5 rounds per in. = 3.75 rounds
1.25 cm per decrease interval × 3 rounds per cm ≈ 3.75 rounds
Since you can’t work a decrease every 3.75 rounds, you’ll alternate:
Work a decrease round every 4th round, then every 3rd round, repeating this sequence until you reach 68 stitches.
This evens out your shaping over the length of the sleeve and keeps your final measurements on track.
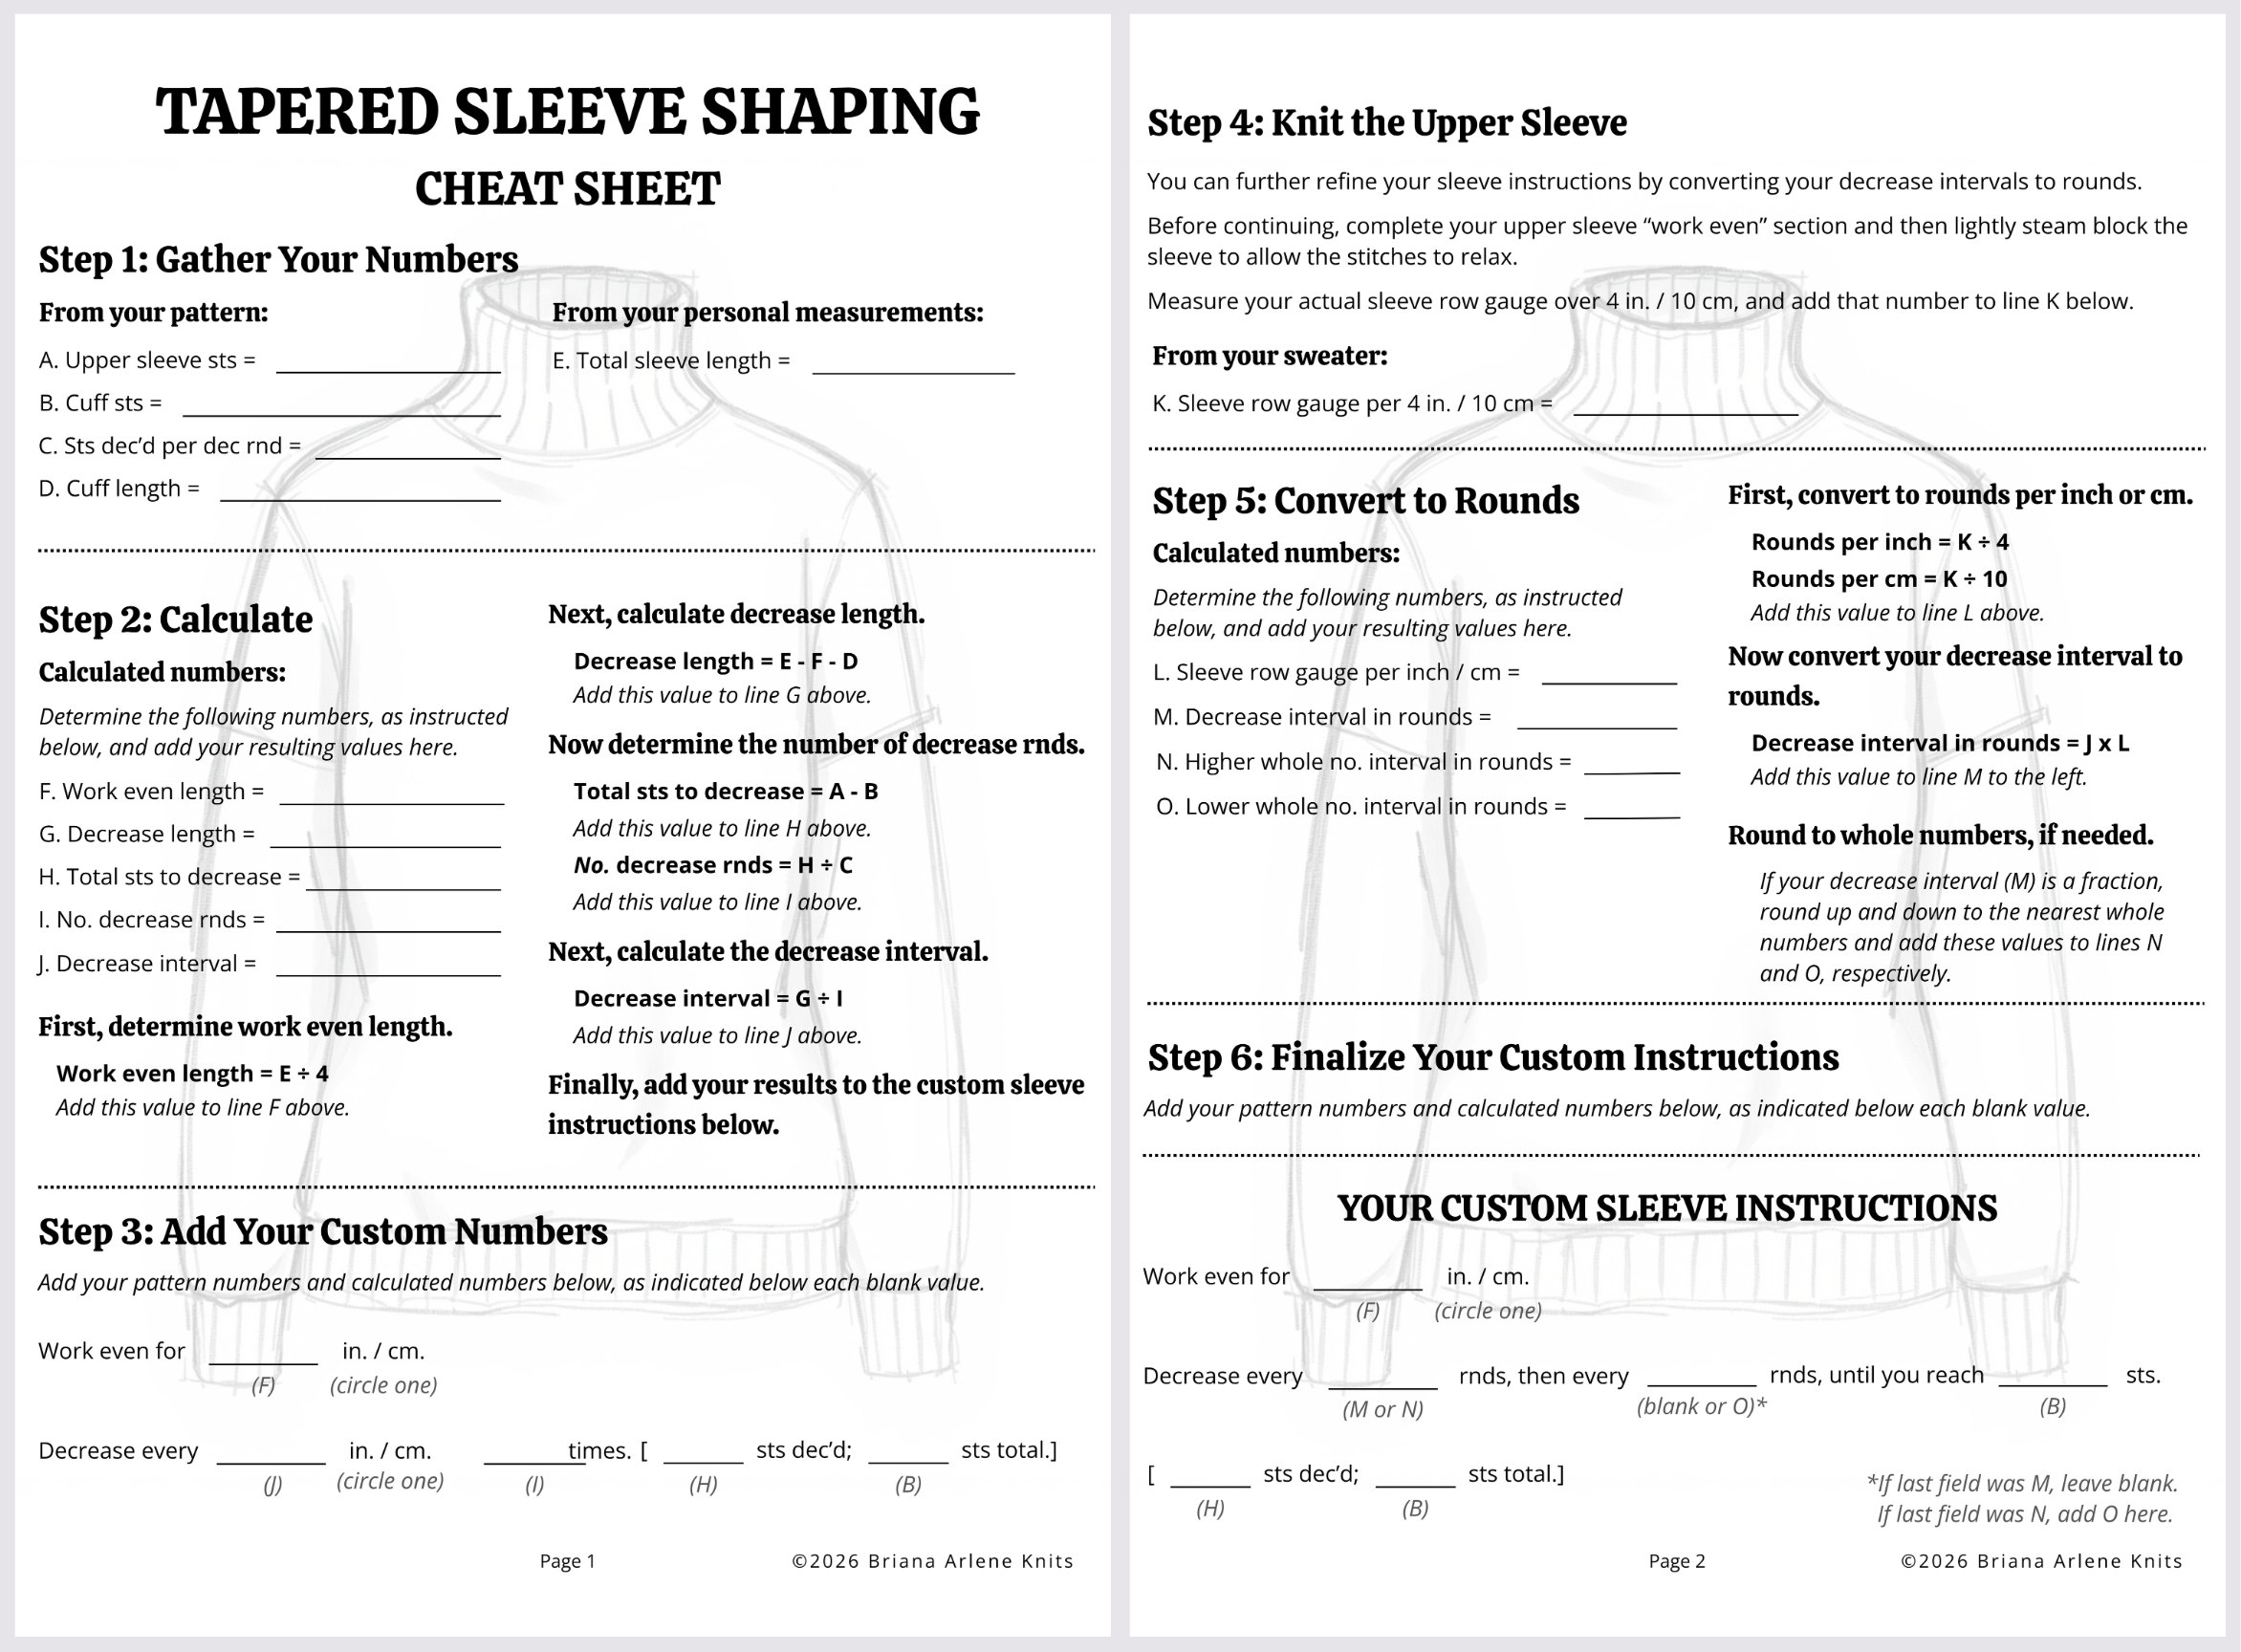
Download my free Tapered Sleeve Shaping Cheat Sheet—a simple, printable guide that walks you through every step in this article so you can calculate your sleeve decreases with confidence (no guesswork required).
Tapered Sleeve Shaping Cheat Sheet
I’ve put this entire process into a Tapered Sleeve Shaping Cheat Sheet that you can fill out for your next sweater.
It walks you through each step—from gathering your numbers to calculating your decrease intervals—so you don’t have to reinvent the wheel every time you knit a sleeve.
And Even Still, You Might Not Get It Quite Right
Even with careful planning, sleeves can still surprise you.
One factor we haven’t talked about yet is the weight of the sleeve itself. As you knit, the growing fabric can stretch under its own weight, which may affect your final length—especially after blocking. Fiber content plays a big role here, too.
I have long arms for my size, so I custom-calculate my sleeve length every time I knit a sweater—even in my own designs, because I don’t fit the median arm length for my size standard. And still, I don’t always land the correct length on the first try.
So, here’s what I do when I want to be extra sure:
Knit the sleeves, but don’t bind off. You can pause your knitting before or after the cuff, depending on how confident you feel about your final length.
Place the sleeve stitches on hold with waste yarn or plastic tubing.
Wet block the sweater as if it were finished.
Try it on and assess the blocked sleeve length.
From there:
If the length is right → Yay! Bind off, and you’re done!
If it’s too long → frog back as needed, knit the cuff, and then bind off.
If it’s too short → knit additional rounds followed by the cuff and then bind off.
Steam block any sections you adjusted—and you’re done.
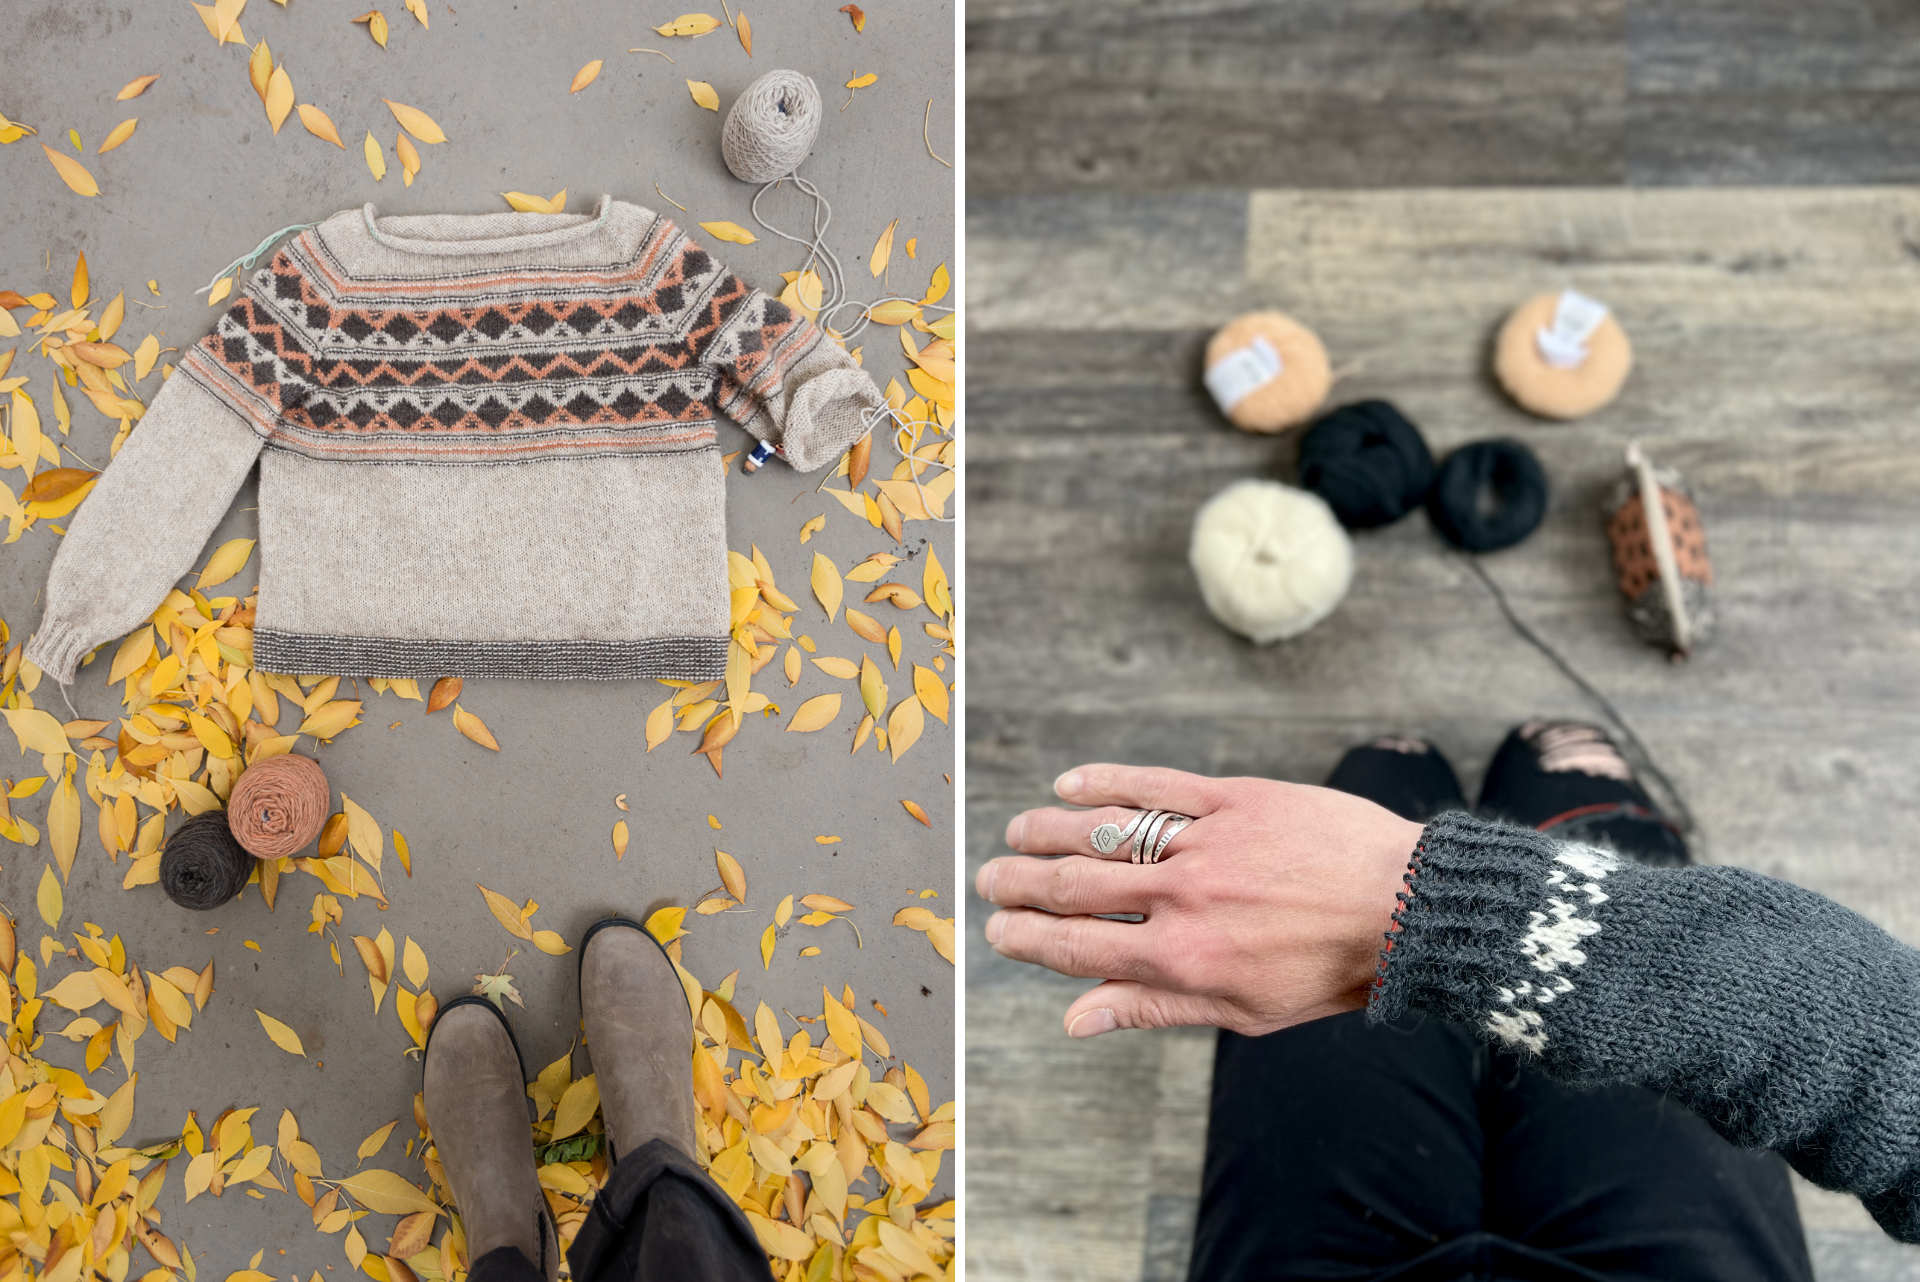
Even after decades of knitting, I don’t always get sleeve length right on the first try. These days, I often put sleeve stitches on hold, block the sweater, and try it on before binding off—so I can fine-tune before committing to a final length. Because who likes to unpick a tubular bind-off? Not me!
Patterns: Alpine Everlasting Sweater & Folk Spells Sweater
Photos: Briana Arlene Knits
Conclusion
Sleeves are one of the most common places where fit can feel frustrating—but they’re also one of the easiest areas to take control of.
Once you understand how to use key pattern numbers alongside your own measurements to adjust your decrease rate and account for your actual row gauge, you can custom fit your sleeves like a pro!
And once you’ve worked it out for the first sleeve, the second is easy. No more guesswork because you’ve already written yourself a clear plan for a sleeve that you know will fit.
With a little practice, sleeve island might even start to feel like a vacation. The math is done, the decisions are made…now you get to sit back, relax, and just knit.